Showing posts with label Mexican food. Show all posts

Wednesday, June 22, 2016

Quick Fix: Queso Fundido


I made this version of Queso Fundido on May 4.  Yep, I was a day early, I just couldn't seem to get my Cinco de Mayo on soon enough, so I made Tex Mex at home a couple nights in a row!

I posted pictures of the finished and garnished Queso Fundido online and received a couple of requests for a video, so here it is, request honored:


This version is a bit different than the one I posted years ago it's got a lot less ingredients and you can whip it up in a jiffy for unexpected company or a quick and easy appetizer after a long day.  The video shows a full batch, but you can easily reduce the amount of servings - just go ahead and cook up all of your Chorizo and onion, place only what you need in an oven safe dish or a small cast-iron skillet, top it with your choice of cheese and bake as directed.  You can store the extra chorizo in the fridge and make more another day or freeze it for use in casseroles, soups, etc.

Play with this recipe! If you'd like to add bell pepper or hot peppers, throw them in with the onions. You can squeeze some lime in before you add the cheese too - I really like to squeeze it on top right before I eat it.  Can't find Chorizo where you are, use your favorite Italian sausage or a spicy breakfast sausage.  Use your favorite cheeses - one that melts really well and one that is tangy or sharp is really nice.  If you like it creamier, add a little cream cheese too.  Have fun and until next time - Ciao!

Queso Fundido

16 oz Bulk Chorizo Sausage
1/2 Medium Onion, chopped
8 oz Queso Quesadilla
8 oz Pepper Jack
1 handful Fresh Cilantro, chopped
1 handful Ripe Olives, chopped (optional)
Sour Cream to taste (optional)
1 Lime, cut into wedges and served on the side (optional)


This Queso Fundido is a bit different than

Wednesday, March 16, 2016

Chicken Enchilada Cobbler


I first had this Spicy Taco Cobbler when I facilitated a workshop this past March with my friends Janet and Amelia for a group of Adult Girl Scouts.  Janet had made the recipe before, shared it on her blog – Chuck Wagoneer – and knew it to be reliable and popular.  I was a bit skeptical, to say the least, I had a snobbish attitude about the recipe since it called for Bisquick and Uncle Ben’s Ready Rice, but it did sound delicious and kind of perfect for a camping trip in March.  Ya know, a hearty, stick to your ribs and warm you to your toes casserole.  March in the Pacific Northwest can be a real crap shoot, to say the least, in the weather department.  We had facilitated workshops at this yearly event several times in the past and had experienced everything from the nasty rainy weather you would expect from a Pacific Northwest early Spring to sunny and clear with below freezing temperatures to cloudy and mild.  Yikes!  Not to mention the fact that standing on cold cement all day, teaching a workshop OUTSIDE, can just chill you to your unmentionables.  Yep, definitely perfect casserole weather.

This recipe actually has a lot going for it – it’s pretty high-carb since it has both rice and a bicuity-cobbler topping, but it’s also pretty packed with protein since it has both meat and cheese, plus it has just a hint of a spicy kick (which you can definitely kick up a notch or three, if you prefer) that just warms you through and through and stays with you for hours.

The original recipe calls for ground beef as well as the aforementioned Bisquick and Spanish Ready Rice.  But I knew this recipe was ripe for variations.  I have made it a couple of ways already first by kicking up the spice a tad by using Chorizo and making both the baking mix  Spanish Rice from scratch.  But my favorite variation of this recipe is Chicken Enchilada Cobbler.  It tastes like chicken enchiladas with a savory cobbler topping and the simplicity of a casserole. I was super happy with the results right out of the gate and my husband gave the recipe his seal of approval too. 

Best of all, if you already have the rice made up this recipe can be made in one-pot AND it’s outdoor cooking friendly!  Visit my friend (insert link) Janet’s blog for dutch oven cooking instructions. 

Start by placing the rice in the bottom of a buttered casserole dish (I'm using Cilantro Lime Rice here), dutch oven or cast iron skillet.


Mix some pre-cooked chicken with shredded Monterey Jack Cheese, a can of dice green chiles, a little bit of green enchilada sauce and chopped fresh cilantro...


...top the rice with the chicken enchilada filling mixture...


...spread it evenly over the rice.


Now pour the rest of the enchilada sauce over the whole thing...


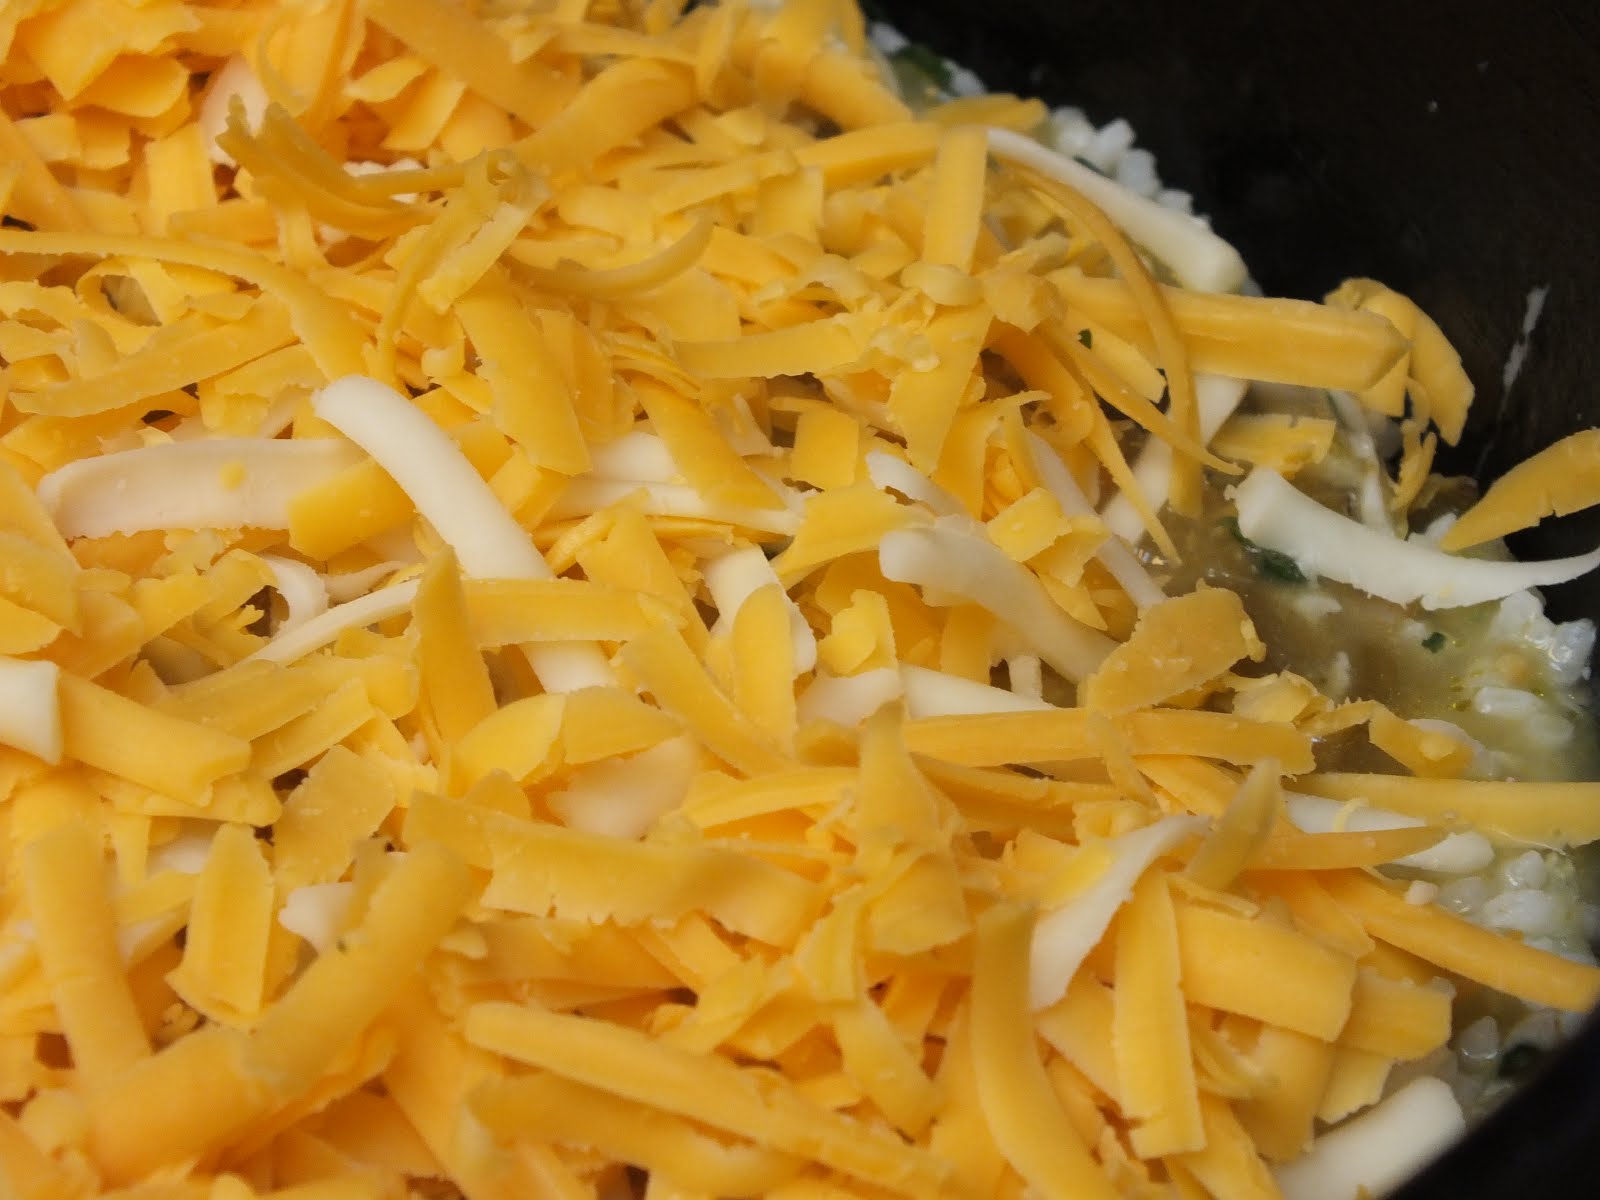
...top with cheese - I used both Monterey Jack and Cheddar.  


Now mix up your cobbler topping: Start by adding cheese to the baking mix...


...and mixing the cheese in....


Now add your milk and eggs...


...and melted butter...


Pour the cobbler topping over the whole shebang...


...and bake until it looks like this:


This recipe is sure to be a family favorite and it’s a great candidate for making and freezing for meals-in-a-hurry.  Muy Delicioso!

Chicken Enchilada Cobbler

2 Cups (insert link) Cilantro Lime Rice (or any rice you have on hand)
2 Cups cooked chicken, shredded or cut into bite-sized pieces
1 – 10 oz can Green Enchilada Sauce
1 - 3.3 oz can dice Green Chiles
1/4 tsp dried oregano
1/4 tsp garlic powder
handful fresh cilantro, chopped
1 Cup Milk
2 Eggs
1 TBLS Melted Butter, unsalted
1 Cup (insert link) Baking Mix
2 Cups Shredded Cheese, divided

Preheat oven to 400 degrees.
Butter casserole, dutch oven or cast iron skillet.  Place rice in bottom of buttered casserole.  

Mix chicken, 1/4 cup of the cheese, 2 tablespoons of the enchilada sauce, the green chiles, oregano, garlic powder and cilantro together.  Layer on top of rice in casserole dish.

Pour Green Enchilada Sauce over rice and chicken mixture.  Top with 1 1/4 cup of the Shredded Cheese.  Set aside.

In a separate bowl, mix together baking mix, and final 1/2 cup of cheese.  Mix well.  Add milk, eggs, and melted butter.  Pour or spoon over cheese in casserole. 

Bake 30 minutes or until top is golden brown (this took 25 minutes using the convection setting on my oven).  Serve with sour cream, chopped green onions and sliced olives if desired.


Serves 6

Wednesday, March 9, 2016

Make Your Own Takeout: Cilantro Lime Rice


I live about 20 minutes from the nearest anything.  Grocery stores, gas stations, restaurants, hardware stores...you get the idea.  And what is available 20 minutes away is limited which means we often have to drive quite a bit further to satisfy our cravings...which we almost never do.  Seriously, after spending a minimum of 2 hours in the car per day, 5 days per week the craving has to be pretty intense for either one of us, much less both of us, to be willing to put on proper clothes, hop in the car and go out anywhere for anything.  This has led to a desire on my part to learn to make as many of the foods I crave from our favorite takeout joints as possible.  If you happen to follow me on Pinterest, you may be aware I have a huge group board I call Make Your Own Takeout.  Hence, this first installment of Make Your Own Takeout: Cilantro Lime Rice.

One place I have been introduced to since starting my job in Kent is Chipotle.  I really like the burrito bowl with Cilantro Lime Rice, Carnitas, beans, corn, etc.  The rice is very good, but I knew I could not only easily make it at home, but make it even better with more flavor.  The beauty of this dish is that you can either make it completely from scratch or make it using leftover rice and, if you're in a hurry, you can even make the whole thing in your rice cooker (or saucepan on the stovetop) in one fell swoop!

I am making Chicken Enchilada Cobbler today and I had some leftover rice in the fridge I decided to use up so I started with 2 cups of the leftover rice and added the zest of 1 lime...


...and the juice of half of the same lime...


...a handful of cilantro....


...plus some ground cumin, onion powder, and salt.  Mix it all up, reheat and Voila!  Cilantro Lime Rice.  At this point you can reheat it and serve it with Fish Tacos, Fajitas or top it with Carnitas and Make Your Own Takeout burrito bowl - or any other recipe you'd like to use it in - like the Chicken Enchilada Cobbler I'm making.


Here's the recipe:

Cilantro Lime Rice

Method 1: Precooked Rice

2 cups cooked rice
zest of 1 lime
juice of 1/2 lime (or more to taste)
1/2 tsp ground cumin
1/4 tsp onion powder
pinch of salt
handful fresh cilantro, chopped or 1 tsp dried cilantro

Mix all ingredients together, reheat and serve.

Method 2: Rice Cooker
*1 1/2 cups rice
*3 cups water or chicken stock
zest of 1 lime (or more to taste)
juice of 1 lime
1/2 tsp ground cumin
1/4 tsp onion powder
1/2 tsp salt (less if using salted chicken stock)
handful fresh cilantro, chopped or 1 tsp dried cilantro

Thoroughly rinse uncooked rice until the water runs clear.  Add to rice cooker along with all ingredients except cilantro if using fresh.  Set rice cooker per manufacturers instructions.  Serve hot with your favorite Mexican dish.

*NOTE: You may need to adjust these amounts per the manufacturers instructions for your rice cooker.  The manufacturers instructions trump those above.  If using a saucepan on the stovetop, follow the instructions for rice to liquid ratio on the package of rice you choose to use, then add everything else and cook as per usual.


Saturday, January 16, 2016

Cornbread Breakfast Casserole

Back in September, Steven and I took a mini-staycation.  I know you'll hardly be able to contain yourselves when you hear what we did...

We purged and did a thorough cleaning of our bedroom.  Exciting right?  Honestly, our bedroom really needed it, after having the 4 kids living with us and re-arranging our space to accommodate them, then remodeling to give them better spaces, our bedroom became the dumping ground for everything that didn't otherwise have a home in our house.  So we purged and we cleaned and we purged and cleaned some more.  Boy, does our bedroom look great, even now, several months later. That was day 1 of our staycation.  For day 2, to reward ourselves for getting that huge chore done, we drove to the college town of Ellensburg - which is just on the other side of the Cascade Mountains from where we live - to see my brother, whom we hadn't seen recently.  He'd just moved to a new place, which we toured, and where I got my kitty fix (after having been catless for the entire summer... a problem which we recently remedied), treated my brother to lunch, walked around downtown Ellensburg, which is very nice, and came back home.  During our tour of the downtown, we visited a couple of galleries and I picked up this little gem of a cookbook.  I do a lot of outdoor cooking workshops with my friend, Janet of Chuck Wagoneer and I'm always on the lookout for good breakfast recipes for us to try.  This cookbook is really excellent because it's truly written for outdoor cooking with your dutch oven right down to details like how many coals to put on the bottom and how many coals to put on your lid.

Anyway, there are some recipes in there that I was really excited to take for a spin and this Cornbread Breakfast Casserole is the first I have tried so far.


The first time I made it was for my gaming group and I thought I had bell peppers at home, only to discover I didn't when I got started making it (don't you hate when that happens?).  It came out just fine, but I felt the sweetness of the cornbread was a bit too strong.  After reviewing the recipe with Janet and her husband, we decided that it was worth trying again, but making sure to include the bell pepper and using green bell pepper instead of red to balance against the sweetness.


So this time around, I've used green bell pepper.  Also, I used Chicken Italian sausage for that first go round, and it was really good, but not everyone is a fan of the fennel that's commonly found in Italian sausage.  This time around, I decided to spice it up with some Chorizo.  I also used the entire can of diced green chiles - the recipe calls for 2 tablespoons, which is 2/3 of the can anyway - and we couldn't really tell they were there.  Because Janet's husband has some dietary restrictions that eliminate whole kernel corn from his diet, I omitted that as well.  Last, but not least, I used both Cheddar and Monterey Jack cheese for this dish and used 1 1/2 cups total, rather than a single cup.  I wanted the creaminess of the Monterey Jack to offset the spiciness of the Chorizo.


This is an excellent recipe.  When we do cooking workshops we always have a couple people with one food allergy or another and gluten free requests have become very common - this recipe just happens to be gluten free - so you don't have to make any additional substitutions or adjustments to the recipe to accommodate folks with gluten allergies.  Its super versatile - use any color bell pepper and your favorite bulk sausage; use whatever cheese you have on hand - or leave it out.  Jalapeno would be a nice addition to the cornbread for those who like it spicey.


The cornbread is dense but moist, and the eggs bring it all together.  By-the-way, I know it seems like a lot of salt and pepper, but I've put it in as per the recipe both times and it's definitely not too salty, neither is it too peppery.


There are a couple things I did differently for use in my home kitchen.
1) I used one skillet for the whole thing.  (Easy to do at home, but I'd probably prepare it as instructed at camp.)  Today it completely slipped my mind to do that until I already had the cornbread in the oven.
2) I adjusted the cooking time for the cornbread base, and also for the final step.  Not to worry, I'll post the recipe as I feel works best for the home kitchen - if you're going to make this at camp, I highly recommend picking up a copy of this excellent dutch oven cookbook.


Cornbread Breakfast Casserole
(serves 8)

Filling:
1 pound ground sausage or chorizo
1 bell pepper, chopped
1 onion, chopped
2 cloves garlic, chopped
1 tsp cumin

In a 12 inch cast iron skillet or dutch oven (the size is important, if you use a different size, plan on adjusting cooking time) brown sausage with onion and bell pepper.  Stir in garlic and cumin. Remove mixture from skillet and set aside.

Wipe out skillet with a paper towel.  Preheat oven to 400 degrees and place skillet in the oven to preheat while you prepare the cornbread base.

Cornbread Base:
1/2 tsp baking soda
1 cup buttermilk
4 TBLS melted butter
1 cup cornmeal
1/4 cup sugar
1/2 tsp salt
1 egg, beaten
1 can (14.5 oz) can whole kernel corn, drained (optional)
1 can (3.3 oz) diced green chiles

Add baking soda to buttermilk and set aside while you assemble the rest of the base ingredients.  In a large bowl, combine melted butter, cornmeal, sugar, salt, egg, corn and chiles and mix well.  Add buttermilk and stir to combine.  Pour cornbread mixture into preheated skillet and bake for 7 1/2 minutes.  Remove skillet from the oven top with sausage mixture.  Set aside while you prepare the eggs.

Eggs:
5 eggs
1 cup milk
1 tsp salt
1 tsp pepper
3/4 cup Cheddar cheese, grated
3/4 cup Monterey jack cheese, grated

In a large bowl combine eggs, milk, salt and pepper and beat until well combined.  Pour mixture over the cornbread and sausage.  Bake 35 minutes.  Turn oven off.  Remove from oven and sprinkle the cheeses on top.  Place back in turned off oven for approximately 5 minutes, just until cheese melts.

Enjoy!


Saturday, April 25, 2015

Crowd Pleasing Carnitas


Hola!  Wow, it has been such a long time since I shared anything with you – longer than I even realized.  Like a lot of you I have a lot of balls to juggle – I have a full-time, traditional job plus a home-based online retail business on top of all the usual friends, family, pets, etc.  Recently, my interest in Tabletop Role Playing Games has been re-ignited - it’s become an obsession, really, and has consumed even more of my already dwindling free time.  Along with playing RPG’s, however, also comes tasty food.  There is something about playing that just fuels the appetite and my gaming group and I have been eating well, indeed.  One of my fellow players is also a fellow food blogger and I think really has us both raising the stakes in food preparation for our game days which brings us to the lovely Pork Carnitas recipe I made just last Saturday for my gaming group.  The recipe was easy to prepare and the pork was absolutely fall-apart tender and juicy as well as flavorful. 

I found  this recipe for Pork Carnitas and made only a few changes – mostly in cooking method (after all, this is ME we are talking about).  One of my gaming companions is a bigger wimp than I am when it comes to hot spices so I left out the jalapenos.  In the future, if I leave these out, I will substitute for green chilies instead, just to add another layer of flavor. 

To start with, I picked up a 5 pound pork shoulder from the local butcher shop and had them cut it into 2 inch cubes.  Prior to preparing the pork for cooking, I let it sit out about 20 minutes at room temperature.  While my cast iron skillet was preheating I seasoned the pork cubes with salt & pepper (do not skimp on this step!).  In a large bowl, I mixed together the oregano, cumin and olive oil, then I tossed the seasoned pork in the mixture and made sure it was all well-coated.  I seared the pork in small batches, being sure that the largest surfaces were nicely browned before removing them from the skillet.  I placed them right in the crock of my slow cooker and just kept searing in small batches until it was all browned.  Next, I put the onions, garlic and juice from one of the oranges in the still-hot skillet and just cooked them until softened and until all the nice, browned bits came loose from the pan, then I poured it all on top of the seared pork.  To this mixture, I added the juice of the last orange, placed the lid on the crock, put the crock back into the slow cooker base and turned it on low and pretty much left it to itself for the rest of the day. 

I cooked for about 7 or 8 hours before we got around to having dinner and the pork absolutely fell apart with very little effort on our part.  I served it up with rice seasoned with cumin and fresh lime juice, black beans, shredded lettuce, shredded cheese, sour cream, hot sauce and flour tortillas.   This gave everyone plenty of options to choose how they wanted to prepare theirs – as a soft taco, a salad or a rice bowl.  This dish received plenty of oohs, ah’s and kudos and I definitely recommend giving it a try.   Unfortunately, we were so hungry by then that I forgot to take pictures of the finished product.  It’s great for casual entertaining or for your upcoming Cinco de Mayo fiesta. 

Until next time – hasta luego!

Ingredients
4-5 lb Pork Shoulder, boneless, cut into 2 inch cubes
1 onion, coarsely chopped
1 jalapeno, seeded and ribs removed, chopped
1 1/4 tbls salt
1 tsp black pepper
4 garlic cloves, chopped
2 oranges, juice only
1 tsp dried oregano
2 tsp ground cumin
1 tbsp EVOO

Set pork out at room temperature for at least 20 minutes. 

Preheat skillet at medium high heat.  Season cubed pork with the salt and pepper.  In a large bowl (or zip-close bag) combine oregano, cumin and EVOO.  Add pork and toss to coat.  Place cubes of pork in pre-heated skillet in small batches (so they are not touching each other) and cook until seared on all sides.  Remove from skillet and place in crock pot or dutch oven.  Repeat steps until all the pork is browned.  Add onion and garlic to skillet, stirring to loosen the browned bits from the bottom of the skillet, add the juice of one of the oranges.  Cook just until the onions and garlic soften a bit and the juice reduces slightly.  Pour over the contents of the crock pot. Squeeze the juice of the remaining orange over the pork mixture. 

Put the lid on the crock pot and turn on to low heat.  Allow Carnitas to cook for 8-10 hours, stirring occasionally. 

When you're ready to serve, remove pork from the crock pot using a slotted spoon.  Use a couple forks to shred the pork (it won't take much effort).  Skim the fat from the juices, discarding the fat.  At this point, you can reduce it, if you'd like.  Pour it over the shredded pork and serve with your favorite taco toppings or burrito fillings and/or rice and beans.  Delicioso!

Saturday, September 22, 2012

Huevos Rancheros for 2

Some things are just easier to cook for 2 (or one). Fried eggs are definitely one of those things - or at least I think they are. I prefer my fried eggs to be served immediately upon coming out of the pan, they just aren't the same if you have to hold them and keep them warm for a substantial amount of time. So I find Huevos Rancheros to be an ideal recipe for 2 (or one).

I actually picked up this technique from watching Rachel Ray - she made it on 30 Minute Meals once and I immediately had to try it. In my version I've added steamed rice in a decidedly untraditional twist, but the method is otherwise the same.

This is a great dish for any time of day - we tend to have it for a quick dinner when we haven't planned anything and, honestly, you can make it in less than 30 minutes easily, if you are making it for one or two people.

I'm sorry to say I am totally guilty of deciding as I was finishing this dish (and just couldn't resist taking a picture) that I wanted to include it for the blog (it's true, I am a fly-by-the-seat-of-my-pants blogger) so I didn't take pictures along the way, but it's really simple to make and, like a lot of my "recipes", it's really more about the method than a specific recipe.


This is an especially good dish to make when you have leftover beans and/or rice in the fridge and tortillas hanging around. I try to keep a small variety of canned beans in my pantry for occassions like this when I just haven't planned ahead for dinner (you'd be surprised how often that is considering how much I like to cook).

Huevos Rancheros

1 can (15 oz) pinto beans or black beans, drained and rinsed
1 cup cooked rice (optional), warm
1 can (4 oz) diced, fire roasted green chilis
2 green onions, chopped
2 tbls taco sauce or salsa
1 tsp Ground Cumin
2 tsp Chili Powder
1/2 tsp Ground Coriander
1 tsp Cilantro
Salt & Pepper to taste
approx 1/4 cup chicken stock, beer or water
2-4 corn or flour tortillas (1-2 per person depending on size)
2-4 eggs (1-2 per person, to personal preference)
2 oz Shredded Cheddar or Monterey Jack Cheese (optional)
2-4 eggs (2 per person)

Have two plates or pasta bowls ready for plating before you start cooking so you can "build" the dish as each component is complete.

Place beans in a small saucepan on medium low heat. Add taco sauce or salsa (I used green taco sauce but I have used salsa in the past too), green onions (reserving a few for garnish), spices and stock, beer or water - just enough to keep everything moist (you can add more later if you need to). Stir occassionally. Just let the beans hang out getting heated through and soaking up some tasty flavors and keeping an eye on them while you get everything else together .

Heat tortillas over the open flame of your gas stove or in a dry, cast iron skillet - just until blistered and warm through. Place them right on your plates or bowls.

When the beans are heated through, fry the eggs according to your personal preference.

On each plate, top tortillas with about 1/2 cup rice, 1/2 of the beans and fried eggs. Top with shredded cheese and sprinkle with reserved green onions. Serve immediately.