Showing posts with label dark chocolate. Show all posts

Wednesday, April 6, 2016

Sweet Tooth: Mayhem Chocolate Chip Cookies

Mayhem Chocolate Chip Cookies

Cookies are hands-down, my number one, go-to favorite treat to bake.  I came up with this chocolate chip cookie variation several years ago and they are definitely the tastiest cookie I make - they are also Steven's favorite (in fact, he came up with the name) so I try to indulge him occasionally with a batch.

These cookies are chewy and tender on the inside with a lightly crisp outer texture and they are packed with flavor and buttery goodness.

Start with 2 sticks of melted butter...


... add brown sugar and granulated sugar...


... whisk them together until they are not only incorporated by completely emulsified.  The mixture should look this this:


Let the mixture cool a bit, you should be able to comfortably place your hands on the bottom of the bowl, then crack in the eggs and measure in the baking soda, salt and Rum Emulsion (or rum extract, or any extract you prefer)...


For years, I used rum extract but one day, I was shopping for cookie cutters and discovered this emulsion and I have found it to work much, much better - you can actually taste the flavor in the cookie.  You can find the rum emulsion here (plus lots of great cookie cutters amongst other handy baking items).


Stir everything in...


... now measure in your flour...


... and in these lovely, dark chocolate chips...


... chopped macadamia nuts...


...and dried cherries.


Let's just pause for a moment to take it all in.


Now mix it all together well - I prefer to do this by hand to keep everything from breaking up into tiny bits...


... once it's all mixed in, it should look like this:


Cover the dough with saran wrap and chill it for an hour.  Then preheat your oven, prepare your cookie sheets (psst, I recently bought some silicone liners and they are da bomb, I highly recommend springing for a set) and scoop the dough...


... isn't it lovely?

Scoop of Mayhem Chocolate Chip Cookie Dough

Bake them for 8-10 minutes, I've found they take the full 10 minutes in my oven on the pure convection setting since switching to the silicone liners, but I recommend setting your timer for 8 minutes and checking them.  They should be golden brown on the edges and top, but might look slightly wet still.  Let them sit on the sheet for 2 minutes before removing them to wire racks to cool.

Cooling Cookies


Here's the recipe:

Mayhem Chocolate Chip Cookies

1 Cup unsalted butter
3/4 Cup Brown Sugar
3/4 Cup Granulated Sugar
Fresh Baked Cookies2 Eggs
1 tsp Baking Soda
1/2 tsp Salt
2 tsp Rum Emulsion or Rum Extract
2 1/4 Cups Flour
1 - 10 oz bag Dark Chocolate Chips
1 Cup Macadamia Nuts, chopped
1 - 5 oz bag Dried Cherries

Melt butter in a large mixing bowl.  Add in brown and granulated sugars.  Mix well, until fully emulsified.  Allow to cool.  Add eggs, baking soda, salt and rum emulsion (or extract).  Mix well.  Add in flour and top with chocolate chips, nuts and cherries.  Mix well.  Cover and chill for 1 hour.

Preheat oven to 375 degrees.  Prepare cookie sheets with either non-stick spray or silicone baking mats.  Scoop or spoon dough onto baking sheets 12 to a sheet.  Bake 8-10 minutes until light golden brown on edges and top.  Remove from oven and leave cookies on baking sheet for 2 minutes.  Remove to wire racks to finish cooling.

Makes approx 4 dozen depending on size of scoop.

Note: You'll want to have plenty of milk on hand with these babies in the house!


Thursday, November 8, 2012

Ghirardelli Chocolate Truffle Cookies with Sea Salt


I love to bake with Ghirardelli chocolate products.  I have been using Ghirardelli chocolate chips for about as long as I can remember.  Their semi-sweet chocolate chips are especially nice to bake with because they hold their shape, but still melt beautifully. 

Recently, someone posted a photo of a beautiful cake on Facebook that was from the Ghirardelli website and in my search through their recipes to find it, I stumbled across this fantastic cookie recipe.  I made them immediately, then made another batch the very next day!  Yes, they are that good! 

Of course, in my typical fashion, I simplified the steps and made them using just one bowl.  What can I say, I'm lazy, I like to bake, but I don't much care for doing dishes afterwards. 

These cookies are wonderfully chocolately, true to their name, they have a gooey, truffley texture and the light sprinkling of salt is just the thing to balance out the sweetness.  Luckily - or perhaps un-luckily depending on your point of view, the batch only makes about 2 dozen (I got 20 cookies from the first batch, 23 from the second batch - same scoop size, go figure!)  so they don't last long.  They'd be great for holiday hostess gifts or teacher gifts or?????  I would use my smallest cookie scoop for that and place them in those cute little mini-muffin papers and box them up like candy... I can tell I'm going to have to make another batch very soon - they are calling to me...


So these cookies start out with melting 60% cacao chips with butter.  I did this all in the microwave. It's not really necessary, but cubed up the butter. Then covered the bowl with plastic wrap and nuked it for 1 minute on high heat...


Remove it from the microwave and give it a stir to see how well it's melted.  Chocolate chips tend to hold their shape as they melt so it's important that you stir it to see how it's coming along... 


You can see these are only just starting to melt after a minute.  I put them back in the microwave and nuked them for 30 seconds at a time, stirring after each interval...


While the chocolate chips and butter were melting in the microwave, I was also toasting walnuts in a dry, cast-iron skillet on low heat.  Once they were toasted, I gave them a rough chop...


Once the chocolate and butter are fully melted you can mix in the sugar.  Let it sit a bit and cool before adding the eggs, then add vanilla, salt and baking powder.


Once that is incorporated, I like to add the flour and top the flour with the baking chips and nuts, this way, they get coated in the flour somewhat as they are mixed in and are less likely to sink to the bottom of your cookie dough so you get a nice, even distribution of nuts and chips throughout your batter. 


It should look like this when it's all mixed together...


Now you cover it back up with the plastic wrap and chill it in the fridge for 10-15 minutes while you're oven is preheating to 350 degrees.


Scoop them...


Then sprinkle them lightly with sea salt...


And bake.  They should look like this when they're done:


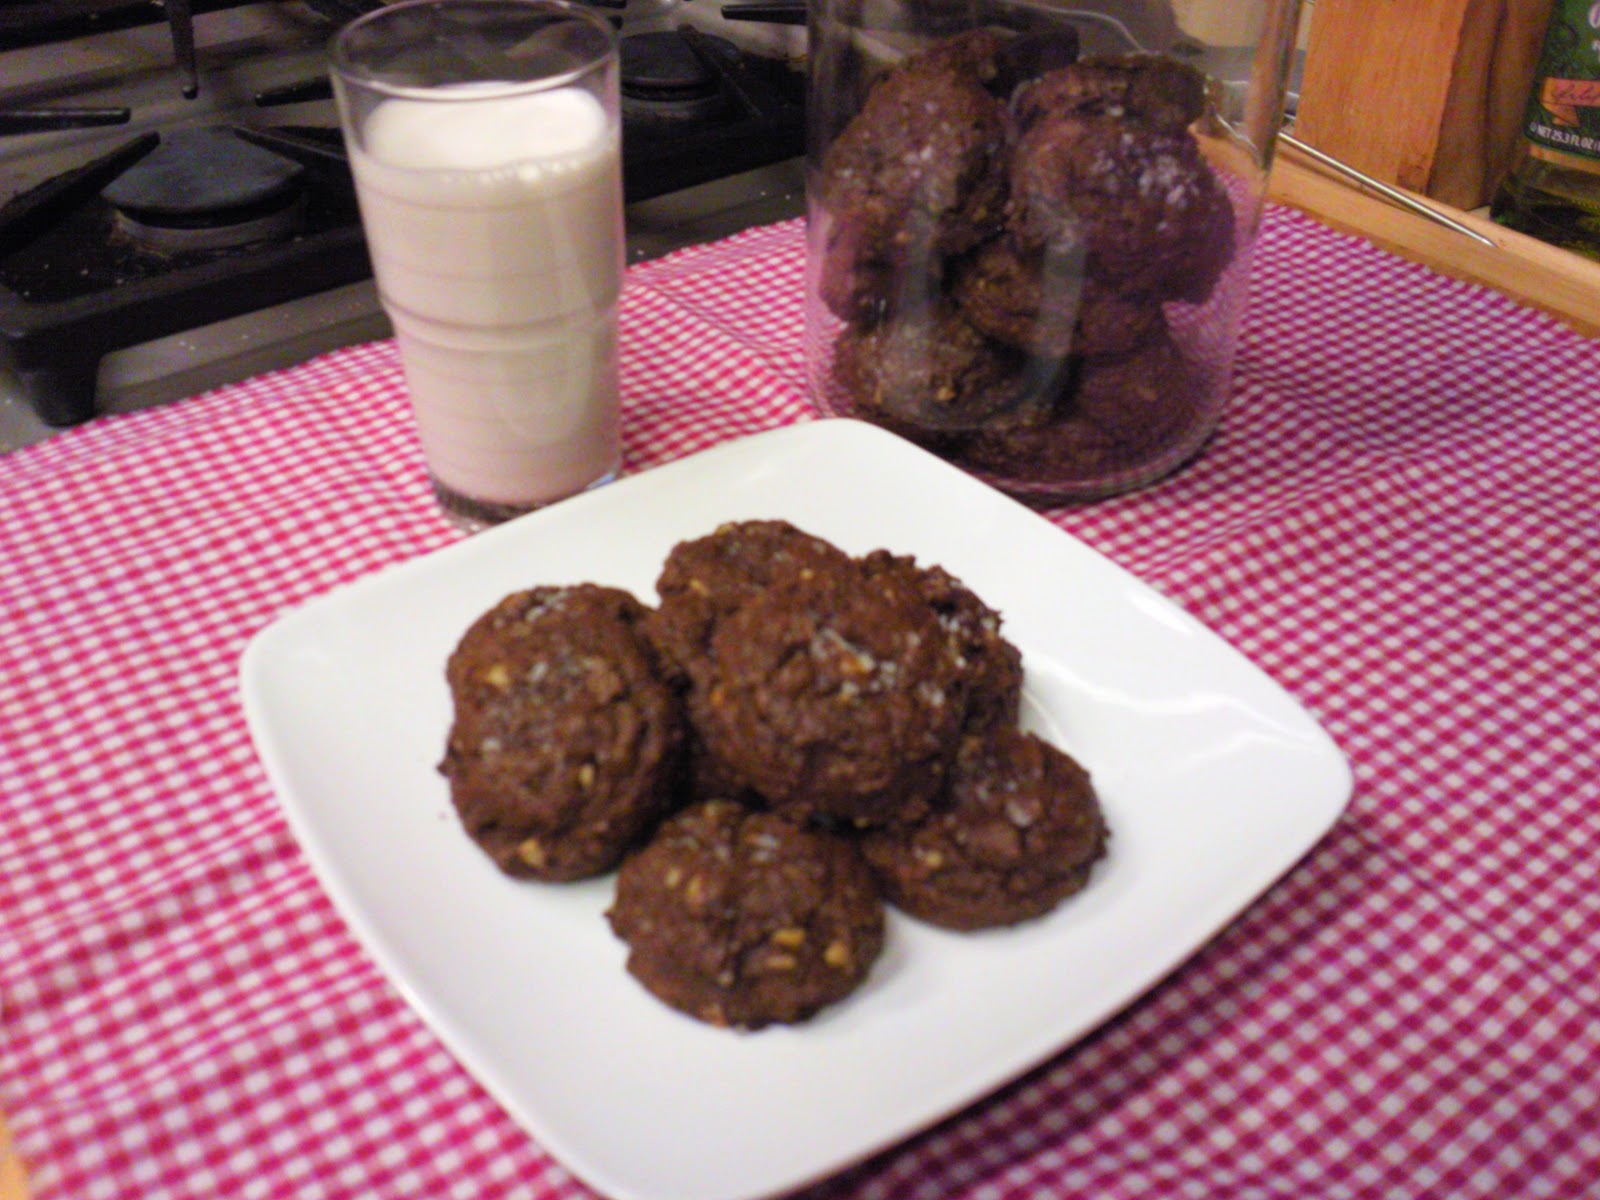
You'll want to serve these with plenty of ice-cold milk!


Good luck not eating the whole batch in one sitting!

Ghirardelli Chocolate Truffle Cookies with Sea Salt

Makes 2 dozen. 

2 tablespoons unsalted butter
1 1/2 cups 60% Cacao Baking Chips, these will be melted into the cookie dough
1/2 cup granulated sugar
2 eggs
1 teaspoon vanilla
1/4 teaspoon baking powder
1/4 teaspoon salt (use table salt or kosher salt)
1/4 cup flour
1/3 cup (remainder of package) 60% Cacao Baking Chips, these will be stirred into the batter
2-3 tablespoons coarse sea salt to top the cookies before baking
3/4 cup toasted walnuts or pecans, chopped (optional)

In a large microwaveable bowl, place butter and 1 1/2 cups of the baking chips.  Microwave for 1 minute on high, then stir.  If you cannot stir the mixture smooth, microwave in 30 second intervals stirring after each interval until you can stir the chips and butter into a smooth consistency.  Add sugar.  Allow mixture to cool.  Add eggs.  Stir in vanilla, baking powder and 1/4 teaspoon table salt.  Add flour, remaining baking chips and nuts and mix in thoroughly.  Cover bowl with plastic wrap and chill for 10-15 minutes. 

Preheat oven to 350 degrees.  Scoop rounded tablespoons of dough onto cookie sheets, 12 to a sheet.  Sprinkle lightly with sea salt.  Bake at 350 for 7-8 minutes, until outside looks slightly cracked.  Be careful not to overbake because they will continue to bake as they cool.  Allow cookies to cool on sheets for 2 minutes, then remove to wire racks to finish cooling.  Cookies will be soft and gooey in the center. 


Wednesday, July 11, 2012

Snowcaps


Hi everyone - I'm finally back, I'm sorry for the long absence - I've had a lot going on in my household lately - the kids moved back in with their mom (so the house is suddenly very empty), my parents and in-laws have been having lots of health issues and I recently left a job situation that was becoming very toxic. Time for new beginnings!

You would think with all this time on my hands that I'd be posting left and right, but honestly, realistically, I do need to find another "day" job so that has been consuming a fair amount of time and there was the holiday. My parents and sister joined us for the 4th - it was the first 4th I wasn't working in 4 years! I hope you all had a lovely, safe holiday. I neglected to take much in the way of photos - which is a shame because we had some lovely copper river salmon, grilled asparagus, roasted potatoes and watermelon margaritas...Can I just say - YUM!


This is some trail mix my husband made. It's loaded with apples and plums from our own trees that he dehydrated last fall.

We have a close, personal friend who has been supporting my cookie-baking habit by purchasing a dozen cookies from me every couple of weeks. I send him a container of cookies and when he's ready for more, he sends the container back. I'd been itching to make Snowcaps - a tasty, oreo-like variation of the Chocolate cookie recipe I used for Chocolate Salted Caramel Thumbprints which you can find here, so when his empty container was delivered to me last night, I knew just what to make him.

These are wonderfully dark chocolate cookies. In this case, I simply frost them with cream cheese frosting. Just look how dark the dough is...

...and the cookies fresh from the oven, before I hit 'em with the cream cheese frosting...

Oh no! I ran out of frosting!!! Hmmmm...Did I tell you these also make wonderful ice cream sandwiches? Well, they do! They are good...really good... Oh Darn! I guess I'll just have to get to the store and pick up some ice cream...


The cream cheese frosting recipe I use is my Grandma Marion's - both of my Grandma's were talented cooks and Grandma Marion's Carrot Cake is the best I've ever had. I'll post it here some time in the future, but I use her frosting recipe more than I make the cake since I like it on these cookies as well as on sugar cookies. The recipe makes a lot, enough for 2 cakes, and it freezes well, in fact, the frosting I used for the cookies came from the freezer from the last time I made her Carrot Cake. It comes together pretty quickly and you can go ahead and frost your cookies with it as soon as it's well blended, but if you beat it in your mixer a bit longer - you'll get a frosting that has a whipped-cream consistency - that is how I like it best.

Grandma Marion's Cream Cheese Frosting

1/2 Cup Butter
8 oz Cream Cheese, at room temperature
1 tsp vanilla (do not reduce vanilla, even if you halve the recipe)
1 lb powdered sugar
Milk, as needed

Cream butter, cream cheese and vanilla. Beat in one pound of powdered sugar (the recipe says to sift, but I never bother). Add milk if necessary to get the spreading consistency you prefer.

One thing about this frosting, it takes awhile to set up so be sure to allow plenty of time for the frosted cookies to dry before attempting to stack them on platters or adding them to cookie jars.