Living in the foothills of the Cascade Mountains in March means plenty of bi-polar weather - pouring buckets one minute, sun shining the next, and high winds 10 minutes later - you just never know what you're going to get from one minute to the next. For me, it's the final call for winter comfort foods before moving on to the fresh flavors of new spring vegetables and the lighter dishes that will lead the way into summer.
Between the pouring rain with moments of sunshine, springing forward into daylight savings and a late night, I woke up on the late side this morning with the desire to spend the day drinking tea under a cozy blanket watching cooking shows and movies... and craving Chicken Pot Pie. Somehow I managed to let almost the entire winter pass by without making any of this fabulously comforting dish. This recipe rectified the situation quite nicely.
Although I love to bake and do bake often, pie crust and I have never quite meshed. I always seem to end up with too-dry pastry that fails to roll out well and cracks when placed in the pan so I tend to gravitate towards alternate solutions that vary from purchasing store bought crust or frozen puff pastry, to topping the dish with biscuits. Today I decided I'd simply try it with the cobbler topping used in this Chicken Enchilada Cobbler recipe with just a minor addition of chives.
Let me tell you, it turned out great! The cobbler topping had a nice, crisp crust while the interior of the cobbler was fluffy and provided the perfect balance for the creamy pot pie filling. My husband really enjoyed the bigger pieces of chicken and it was just the ticket for a blustery, lazy day, taking less than an hour to make from start to table. Success!
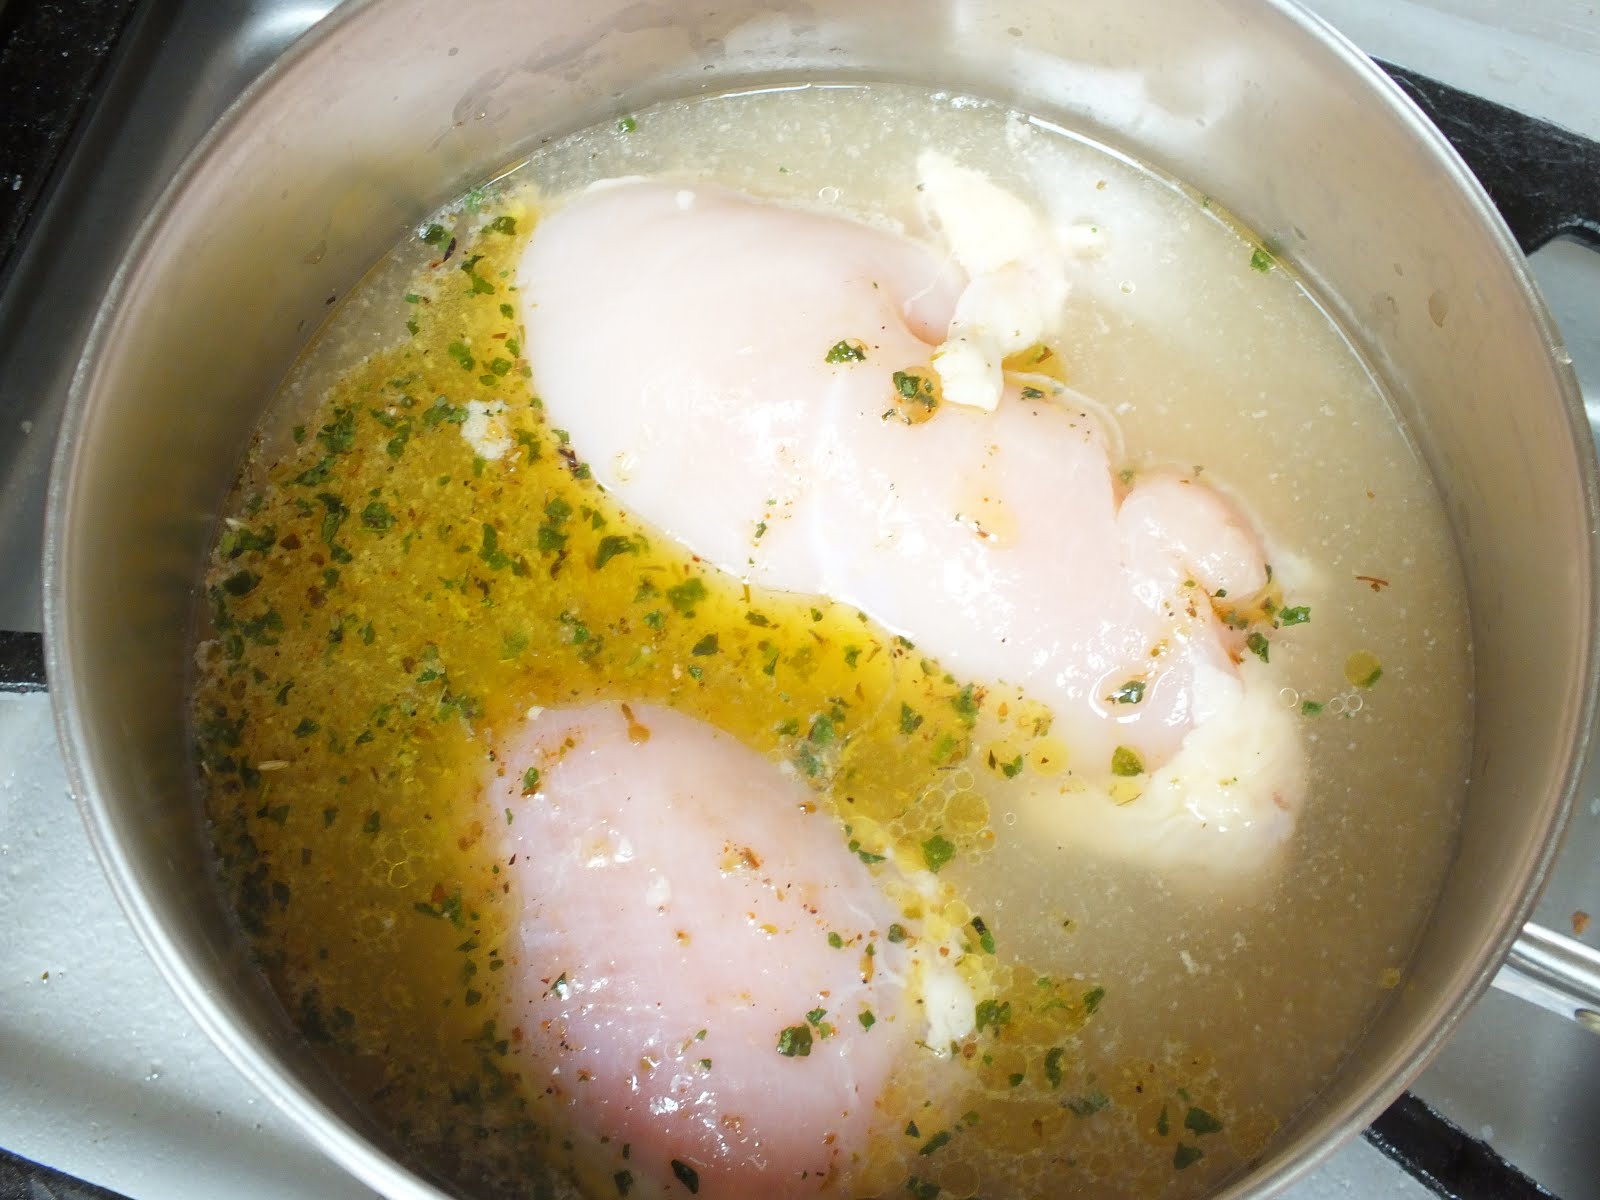
I already had 1 chicken thigh left marinading in the fridge from some dishes I had made earlier in the week so I started with that and added 1 large chicken breast to a saucepan with about 1 cup of chicken stock (I went ahead and added the marinade to the pan as well, knowing the olive oil and seasonings would only serve to add more flavor to the overall dish.) and poached the chicken until it was just cooked through).

Meanwhile, I chopped and sauteed some carrots, onions and celery (I was out of potatoes, but feel free to include them) in a couple of tablespoons of butter and a tablespoon of EVOO (the olive oil helps prevent the butter from burning), lightly seasoning the whole works with a bit of salt and pepper. By the time the veggies were tender, the chicken was ready so I removed it from the pan and cut it into bite-sized chunks and set it aside. I added 3 tablespoons of flour to the veggies, stirred it in and let it cook for a couple of minutes before adding milk and the chicken stock I had poached the chicken in. I stirred this well and let it cook for a bit to gauge the thickness of the sauce. I ended up adding a couple more tablespoons of stock from the carton before I had the consistency I wanted (about as thick as gravy). Once I had that dialed in, I added the chicken...

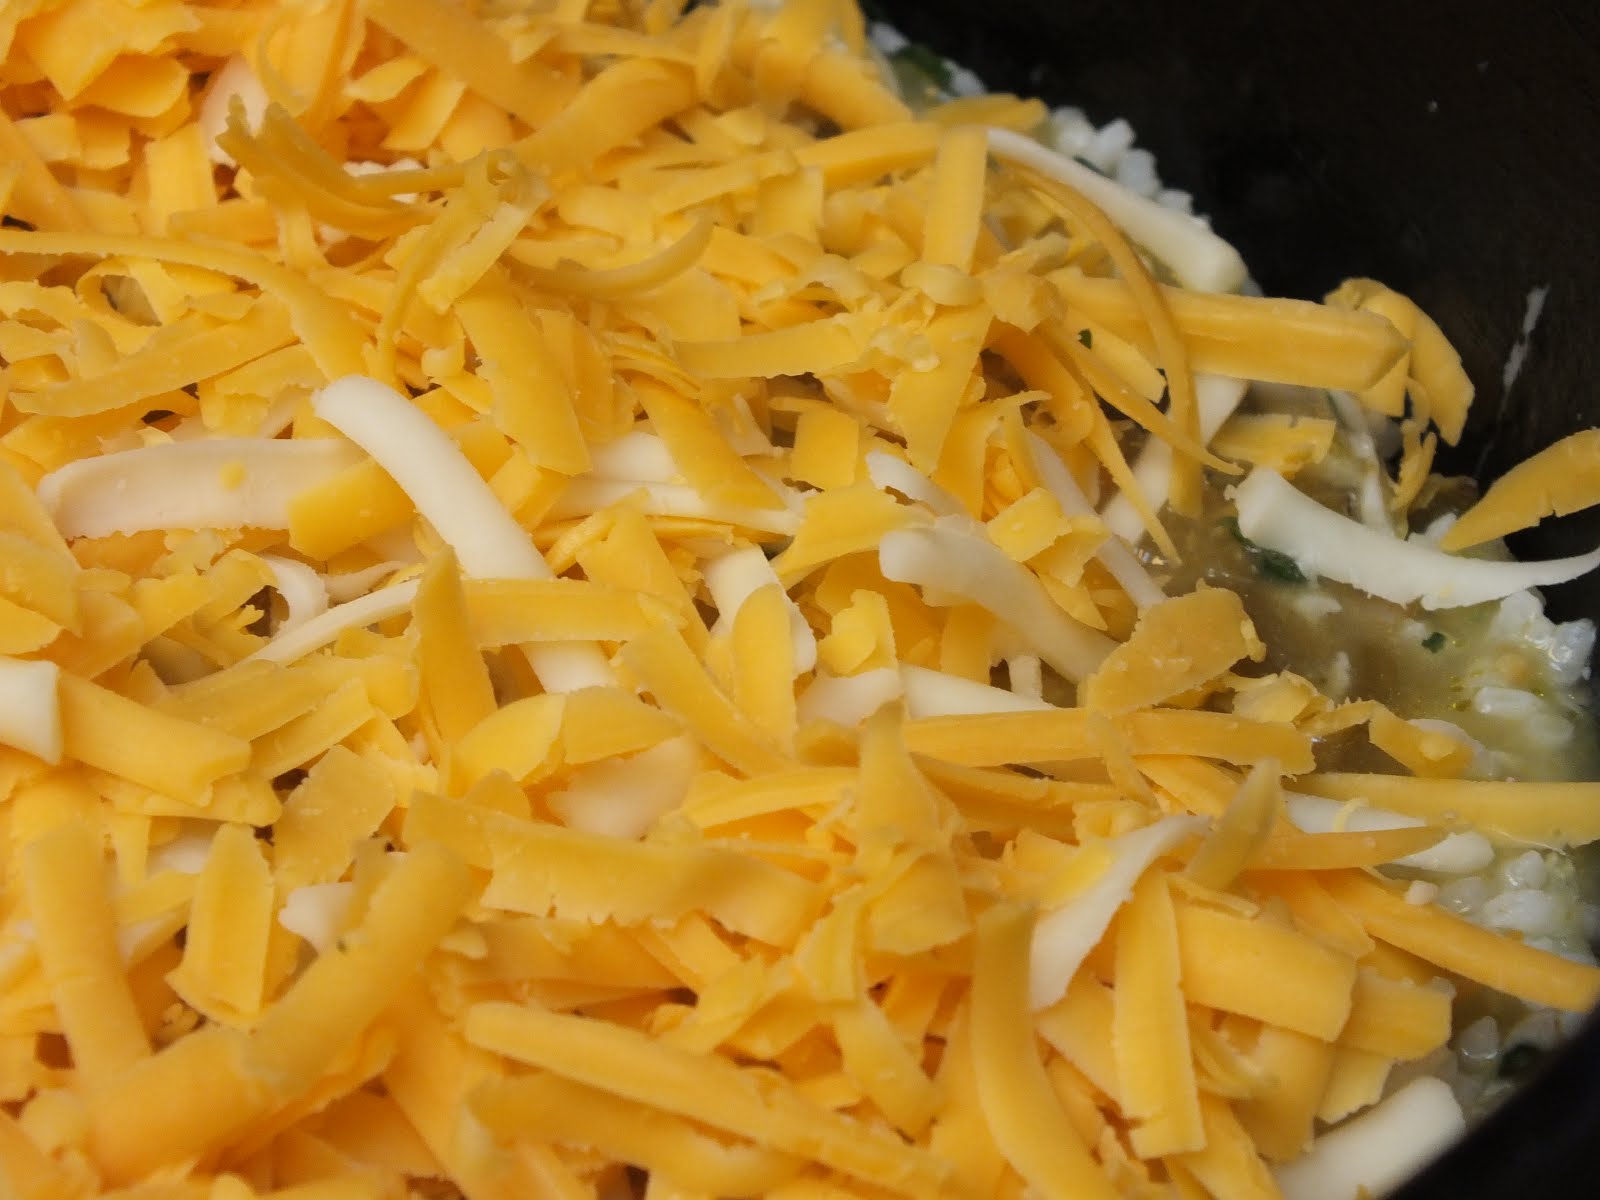
I added some parsley and thyme and just stirred everything together, then I turned off the heat and poured the whole mixture into a small casserole dish that I had already prepared with cooking spray and got to work on my cobbler topping. Just mix 1 cup of Homemade Baking Mix with some sharp, shredded cheddar cheese and 1 tablespoon chopped chives (I used freeze dried), then mix in 1 cup of milk, 2 eggs and 1 tablespoon of butter, mix well and pour on top of the pot pie filling.

Bake it in a preheated 400 degree oven and bake it for 30 minutes. It will come out looking like this:


... just look at how beautifully the cobbler topping rose...

Serve it with a salad on the side and your favorite beverage and you're all set!

Here's the recipe:
Chicken Pot Pie with Cheddar Chive Cobbler Topping
serves 4
Filling
2 boneless, skinless pieces of chicken (I used 1 thigh and 1 breast)
1 cup chicken stock
2 TBLS butter, unsalted
1 TBLS extra virgin olive oil
2 carrots
2 celery stalks
1/2 of a medium, sweet onion
2 medium potatoes (optional)
3 TBLS flour
1/4 cup milk
1 tsp parsley
1 tsp thyme
Salt & Pepper
Cobbler Topping
1 cup baking mix
1 cup sharp cheddar cheese, shredded
1 TBLS butter, melted (*if you use storebought baking mix, omit butter)
1 cup milk
2 eggs
1 TBLS chopped chives (reserve a couple of pinches to sprinkle on top)
Preheat oven to 400 degrees and prepare a small casserole dish with cooking spray or butter. Melt 1 tablespoon butter and set aside to cool.
For the filling:
Place whole chicken pieces in 1 cup of chicken stock and bring to a boil. Reduce heat to low and simmer for about 10 minutes.
Meanwhile, cut potatoes into bite-sized pieces and chop onions, carrots and celery into small dice. Preheat a skillet on medium high heat. Add 2 tablespoons of butter and 1 tablespoon olive oil to skillet and melt butter. If you're including potatoes, add them to the skillet first and let them cook for several minutes before adding the remaining vegetables. Saute until all vegetables are tender.
At this point, the chicken should be ready. Remove the chicken from the pan, reserving the stock. Set chicken aside.
Add flour to vegetables, stirring in and allowing to cook for a couple of minutes. Stir in milk and allow it to cook briefly, until it thickens to almost to a paste. Add all of the chicken stock you poached the chicken in. Stir in and reduce heat to low, allowing sauce to simmer a bit, stirring occasionally while you cut the poached chicken into bite-sized pieces. Add chicken to filling mixture in skillet. If the sauce is too thick, you can add more chicken stock or more milk or simply use water to thin it to the desired consistency. (You want it about as thick as a gravy.) Pour into prepared casserole dish and set aside.
For the topping:
In a medium bowl or measuring pitcher, mix together baking mix and cheddar cheese. Pour in milk, melted butter (which should be cool), chives, and eggs. Mix until it's all combined. Pour on top of filling in casserole dish.
Bake at 400 degrees for 30 minutes, until nicely browned on top and a toothpick inserted into topping comes out clean. Allow to set for about 5 minutes prior to serving. This goes great with a salad or some fresh fruit.
Enjoy!
Let me tell you, it turned out great! The cobbler topping had a nice, crisp crust while the interior of the cobbler was fluffy and provided the perfect balance for the creamy pot pie filling. My husband really enjoyed the bigger pieces of chicken and it was just the ticket for a blustery, lazy day, taking less than an hour to make from start to table. Success!
I already had 1 chicken thigh left marinading in the fridge from some dishes I had made earlier in the week so I started with that and added 1 large chicken breast to a saucepan with about 1 cup of chicken stock (I went ahead and added the marinade to the pan as well, knowing the olive oil and seasonings would only serve to add more flavor to the overall dish.) and poached the chicken until it was just cooked through).
Meanwhile, I chopped and sauteed some carrots, onions and celery (I was out of potatoes, but feel free to include them) in a couple of tablespoons of butter and a tablespoon of EVOO (the olive oil helps prevent the butter from burning), lightly seasoning the whole works with a bit of salt and pepper. By the time the veggies were tender, the chicken was ready so I removed it from the pan and cut it into bite-sized chunks and set it aside. I added 3 tablespoons of flour to the veggies, stirred it in and let it cook for a couple of minutes before adding milk and the chicken stock I had poached the chicken in. I stirred this well and let it cook for a bit to gauge the thickness of the sauce. I ended up adding a couple more tablespoons of stock from the carton before I had the consistency I wanted (about as thick as gravy). Once I had that dialed in, I added the chicken...

I added some parsley and thyme and just stirred everything together, then I turned off the heat and poured the whole mixture into a small casserole dish that I had already prepared with cooking spray and got to work on my cobbler topping. Just mix 1 cup of Homemade Baking Mix with some sharp, shredded cheddar cheese and 1 tablespoon chopped chives (I used freeze dried), then mix in 1 cup of milk, 2 eggs and 1 tablespoon of butter, mix well and pour on top of the pot pie filling.

Bake it in a preheated 400 degree oven and bake it for 30 minutes. It will come out looking like this:


... just look at how beautifully the cobbler topping rose...

Serve it with a salad on the side and your favorite beverage and you're all set!

Here's the recipe:
Chicken Pot Pie with Cheddar Chive Cobbler Topping
serves 4
Filling
2 boneless, skinless pieces of chicken (I used 1 thigh and 1 breast)
1 cup chicken stock
2 TBLS butter, unsalted
1 TBLS extra virgin olive oil
2 carrots
2 celery stalks
1/2 of a medium, sweet onion
2 medium potatoes (optional)
3 TBLS flour
1/4 cup milk
1 tsp parsley
1 tsp thyme
Salt & Pepper
Cobbler Topping
1 cup baking mix
1 cup sharp cheddar cheese, shredded
1 TBLS butter, melted (*if you use storebought baking mix, omit butter)
1 cup milk
2 eggs
1 TBLS chopped chives (reserve a couple of pinches to sprinkle on top)
Preheat oven to 400 degrees and prepare a small casserole dish with cooking spray or butter. Melt 1 tablespoon butter and set aside to cool.
For the filling:
Place whole chicken pieces in 1 cup of chicken stock and bring to a boil. Reduce heat to low and simmer for about 10 minutes.
Meanwhile, cut potatoes into bite-sized pieces and chop onions, carrots and celery into small dice. Preheat a skillet on medium high heat. Add 2 tablespoons of butter and 1 tablespoon olive oil to skillet and melt butter. If you're including potatoes, add them to the skillet first and let them cook for several minutes before adding the remaining vegetables. Saute until all vegetables are tender.
At this point, the chicken should be ready. Remove the chicken from the pan, reserving the stock. Set chicken aside.
Add flour to vegetables, stirring in and allowing to cook for a couple of minutes. Stir in milk and allow it to cook briefly, until it thickens to almost to a paste. Add all of the chicken stock you poached the chicken in. Stir in and reduce heat to low, allowing sauce to simmer a bit, stirring occasionally while you cut the poached chicken into bite-sized pieces. Add chicken to filling mixture in skillet. If the sauce is too thick, you can add more chicken stock or more milk or simply use water to thin it to the desired consistency. (You want it about as thick as a gravy.) Pour into prepared casserole dish and set aside.
For the topping:
In a medium bowl or measuring pitcher, mix together baking mix and cheddar cheese. Pour in milk, melted butter (which should be cool), chives, and eggs. Mix until it's all combined. Pour on top of filling in casserole dish.
Bake at 400 degrees for 30 minutes, until nicely browned on top and a toothpick inserted into topping comes out clean. Allow to set for about 5 minutes prior to serving. This goes great with a salad or some fresh fruit.
Enjoy!