Showing posts with label recipe blog. Show all posts

Wednesday, August 31, 2016

Cookie of the Month: Lemon Crisps


Have I told you that I work for a non-profit?  Well, I do and, like a lot of non-profits, one of the things we do a lot of is fundraising. Just since April, we have already put on one luncheon, two bike rides and two walks - and we have 8 walks to go before our event season will be over.  For this year's bike ride in my neck of the woods, my coworkers approached me about offering cookies as an auction item.  We had someone donate a sweet of the month package - pies, brownies, cookies, cakes - all kinds of sweets and since they know how much I like to bake cookies, they suggested I offer the same thing with cookies.  So I did it - and the package was auctioned off for $100!  Pretty cool.

I knew right away which cookie I would make for August.  I love, love, love these Lemon Crisp cookies for summer entertaining.  There is something so summery about lemons for me and these cookies don't disappoint - slightly crisp on the outside, soft and chewy on the inside (so much so that I was surprised they are called "crisps"), with just the right balance between sweet and tart.  I can't remember if I found this recipe online and Pinned it, or if I found it directly on Pinterest, but either way, I Pinned it and have been making them pretty regularly ever since.

I'm not going to share the recipe here, since it's well covered on it's original bloggers' page (and there was no need to change it in any way) but I will share pictures of the process...

Cream the butter and sugar together...


... add the wet ingredients and lemon zest...
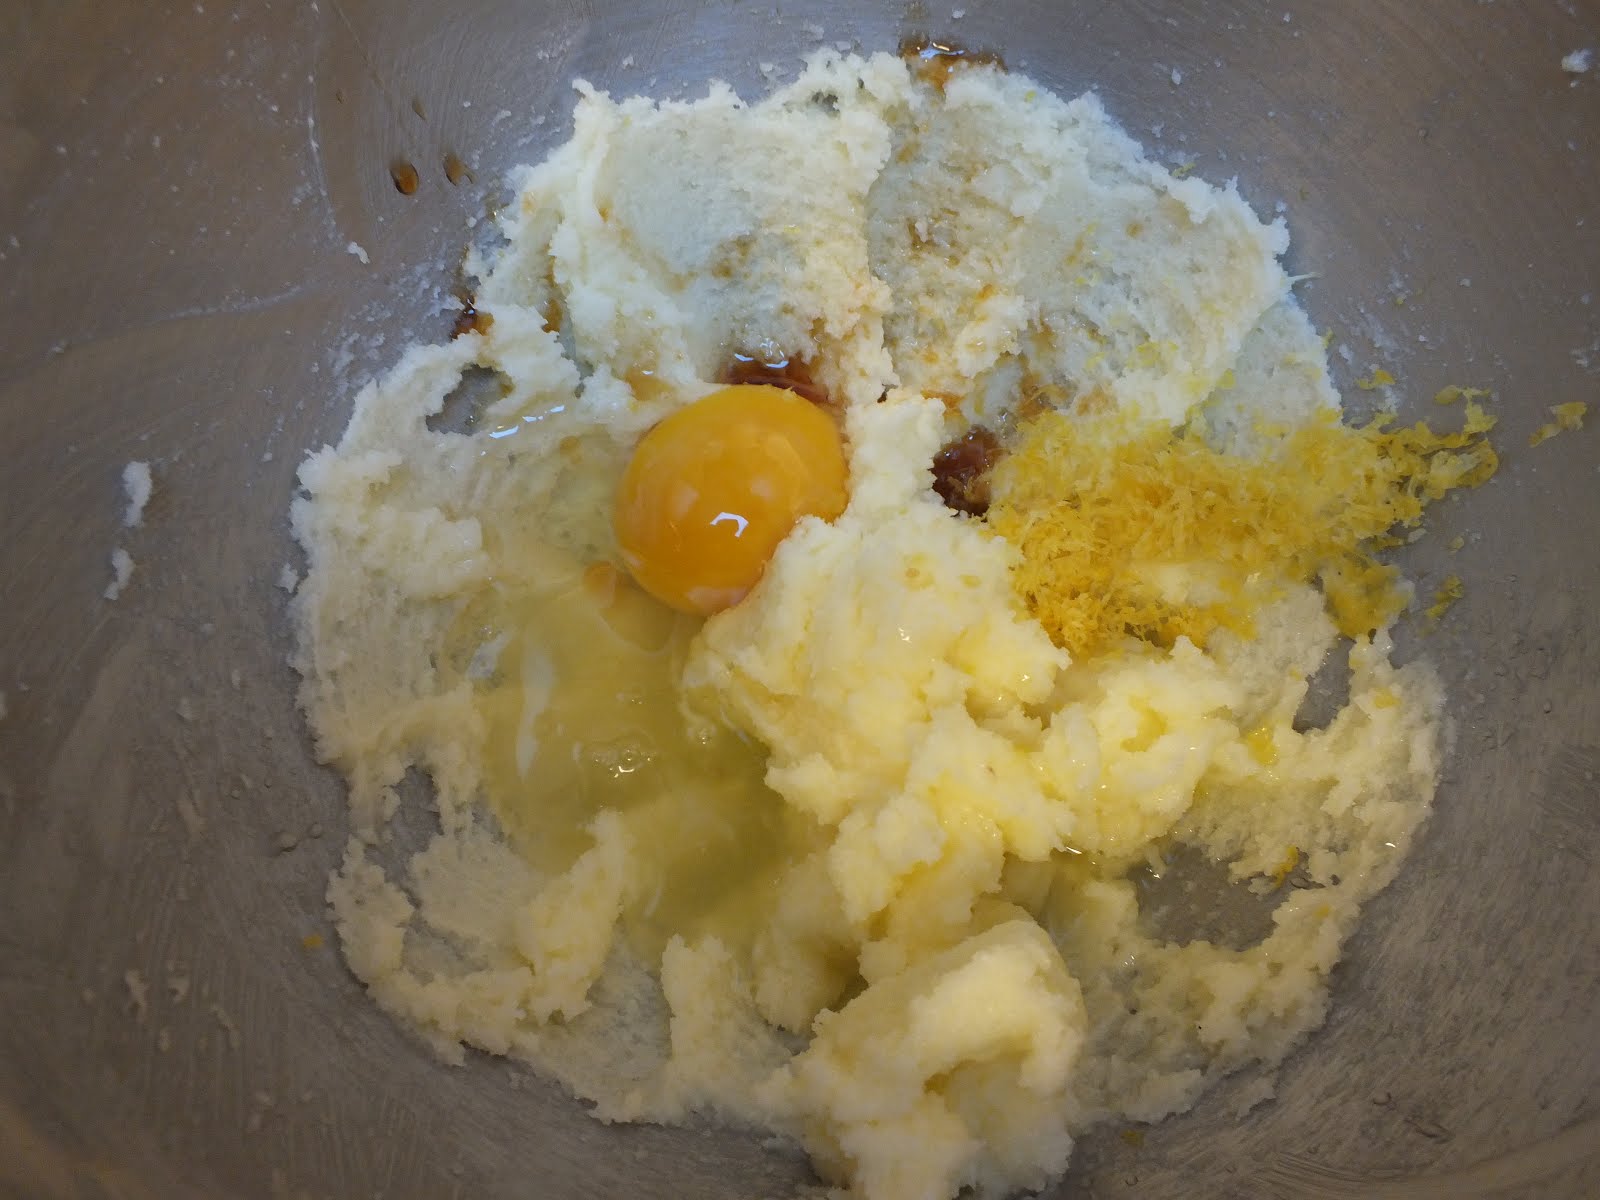


... add the dry ingredients...


... mix until it just comes together...


... and it's ready to scoop.


Once they are baked, they will look like this:


While they're cooling you can whip together the icing - I used only 1/2 cup of powdered sugar and drizzled in some lemon juice...


...this is the consistency I went for - just thin enough to drizzle, but not so thin it would run everywhere...


... then I drizzled it onto the finished cookies.  Mine aren't as pretty as the original bloggers' are, but they sure are tasty and I'm sure my Cookie of the Month auction package winner will really enjoy them!


I'll be posting the cookies I send out each month - some of them may be throwbacks to older posts (so keep an eye out for the odd Thursday post instead of the usual Wednesday post) and some will be recipes I've yet to share with you.  I hope you will make them all and share your results!

Ciao!


Friday, August 5, 2016

CJ's-Kitchen YouTube Channel Trailer

I finally managed to shoot and post a trailer for the YouTube Channel.  Let me know what you think!


Saturday, May 21, 2016

Casual Entertaining: Pulled Pork


Whether I'm gaming, crafting or just hanging out with friends and family, food is almost always included in the plans of the day.  I live out in the toolies, just close enough to civilization to be convenient and just far enough from civilization to be peaceful.  But this means guests are often on the road for an hour or more to get to my home for any kind of get together so a meal time is involved 99% of the time.

We're a pretty casual couple (big surprise being from Seattle, the casual capitol, right?) and we prefer meals to be casual as well.  We're big on having our guests make themselves at home and paper plates not an unusual occurrence - after all, who wants to worry about dishes when you can be visiting...or crafting... or gaming?  I ask you, who?!

Pulled Pork is an excellent recipe for casual entertaining.  I love foods that are versatile and Pulled Pork is definitely versatile.  You can pile it on a bun or roll with some BBQ sauce and some slaw for an excellent sandwich or use it as a topping for a baked potato.  (I like mine with pepper jack cheese, pulled pork, bbq sauce, bacon, scallions or chives and sour cream - YUM!)  It can be used as a topping for nachos or a filling for a quesadilla, wrap or burrito. See what I mean?  Versatile!

The best part about recipes like this one is you put a little effort into it at the beginning and then you can set it and forget it.

I used a pork shoulder for this, and started the night before - liberally applying a dry rub then wrapping it up tightly and placing it in the fridge until morning.  In the morning, I removed it from the fridge and let it sit on the counter about 30 minutes - all the major chefs will tell you this is an important step in cooking animal proteins, assuring the meat will retain moisture.  Preheat a cast iron skillet on medium high heat and sear the roast on all sides.


Once fully seared remove the roast to your crockpot or dutch oven and deglaze the pan.  Beer, apple cider, chicken stock and water will all work fine.  Just add 1/2 to 1 cup liquid and scrape all the lovely browned bits from the bottom of the pan and let it come to a boil.  Then turn off the heat and pour the liquid over the roast in your crockpot.  Cover and cook on low for 4-6 hours.  The roast should be fork tender and falling apart, if not, keep cooking it for another hour and check it again.

Remove it to a shallow bowl and allow it to cool a bit.  It's easiest to pull it apart with your hands, but if it's still too hot to handle you can use a couple of forks to do the job.


Wednesday, May 11, 2016

Quick Fix: Sandwich Night Part 1


Some nights you just don't want to spend a lot of time in the kitchen - even when you love to cook.  I'm sure I'm not the alone either, in spending my commute home trying to figure out what to make for dinner because I forgot to think ahead (please, please say I'm not alone on this).

That's exactly how I ended up making this lovely and delicious Turkey, Provolone and Spinach on a Pretzel Bun Sandwich for dinner recently.  Sandwich Night is the perfect answer to quick week night meals - especially as the weather warms up and we are ready for less rich foods.

This Sandwich was hot, crispy with lovely, melted Provolone cheese and piled high with peppery deli Turkey.  What really put this sandwich over the top, besides the pretzel bun and melting everything in my toaster oven, and besides the fact that it took 15 minutes or less to make, was The Mayo.  No, seriously, it was The Mayo!

I took regular old, every day, spread-it-on-your-sandwiches-put-it-in-your-tuna-salad mayo and elevated it in moments by adding a few, simple ingredients.  Lemon zest, lemon juice, garlic, salt  and pepper.  Yes, it was that simple.


I just spooned a couple of large spoonfuls (soup spoon size) into a small bowl.  Grated in the zest of about half a lemon.  Squeezed in the juice of half of that same lemon.  Then sprinkled in some Garlic Powder, a pinch of salt and a healthy sprinkling of pepper.  Mix it up thoroughly, then spread it on the top and bottom of your split pretzel rolls.

Place a slice of provolone on the bottom slice of the roll and top that with your favorite deli turkey (I used pepper crusted turkey), put another slice of Provolone on top and top it with the other half of the roll.  Wrap in foil and bake for 10 minutes in a 400 degree toaster oven or conventional oven. Remove it from the oven, unwrap it and open it up.  Add a handful of baby spinach leaves to each sandwich, place the top back on and enjoy with your favorite beverage!


Wednesday, April 20, 2016

Recipe Review: Chinese BBQ Pork


Awhile back, I had a troop of Girl Scouts over and we cooked Chinese food together.  Their Girl Scout Leader happened to have a family recipe for Chinese BBQ Pork which she made a brought along for us to add to the Fried Rice we made and to enjoy on it's own as well.  This really inspired me to renew my efforts to learn to cook Chinese Cuisine and sent me on a search to find my own go-to recipe for Chinese BBQ Pork so I could have it any time I craved it.

I searched and Pinned a couple of recipes to return to later and this recipe from Wanderlust Kitchen is the one I finally decided to try this weekend.

It was super easy to make, tender, juicy and the sauce is exactly right.  I opted to make it without the red food coloring but I made absolutely ZERO changes to the recipe and there is nothing I would change now that I've tried it.

Here's how it goes together:

Starting the night before, I mixed all the ingredients for the marinade in a mason jar...


The pork tenderloin came out of the package in two pieces, I cut each piece in half, pricked them all over with a fork (if there was one think I could have done better, this would be it - next time I'll prick it a bit deeper to really get that distinctive crust on the outside) and placed them in a resealable plastic bag.  Then I  poured half of the marinade on top, sealed the bag and massaged the marinade into the pork (this is easier if you let the air out of the bag when you seal it up).  Place it in the fridge overnight (or at least 6 hours) to marinade.

Before I roasted it, I let it sit on the counter a bit to take the chill off so it would be guaranteed to be tender while I worked on making Gyoza and Asian Noodle Salad to go with it.


It was roasted in a 450 degree oven for 25 minutes, until the internal temperature was 160 degrees.  It looked like this when it came out of the oven:


As per my usual MO, I let it rest several minutes before I sliced it up.


The marinade makes and excellent dipping sauce - I thought I'd have to thicken it up, but it was perfect just as is.  I loved this dish and my lunch guests (aka: Gaming Group) loved it and I will definitely be making this recipe again and again!


Wednesday, March 30, 2016

Chicken Pot Pie with Cheddar Chive Cobbler Topping


Living in the foothills of the Cascade Mountains in March means plenty of bi-polar weather - pouring buckets one minute, sun shining the next, and high winds 10 minutes later - you just never know what you're going to get from one minute to the next.  For me, it's the final call for winter comfort foods before moving on to the fresh flavors of new spring vegetables and the lighter dishes that will lead the way into summer.

Between the pouring rain with moments of sunshine, springing forward into daylight savings and a late night, I woke up on the late side this morning with the desire to spend the day drinking tea under a cozy blanket watching cooking shows and movies... and craving Chicken Pot Pie.  Somehow I managed to let almost the entire winter pass by without making any of this fabulously comforting dish.  This recipe rectified the situation quite nicely.

Although I love to bake and do bake often, pie crust and I have never quite meshed.  I always seem to end up with too-dry pastry that fails to roll out well and cracks when placed in the pan so I tend to gravitate towards alternate solutions that vary from purchasing store bought crust or frozen puff pastry, to topping the dish with biscuits.  Today I decided I'd simply try it with the cobbler topping used in this Chicken Enchilada Cobbler recipe with just a minor addition of chives.

Let me tell you, it turned out great!  The cobbler topping had a nice, crisp crust while the interior of the cobbler was fluffy and provided the perfect balance for the creamy pot pie filling.  My husband really enjoyed the bigger pieces of chicken and it was just the ticket for a blustery, lazy day, taking less than an hour to make from start to table.  Success!

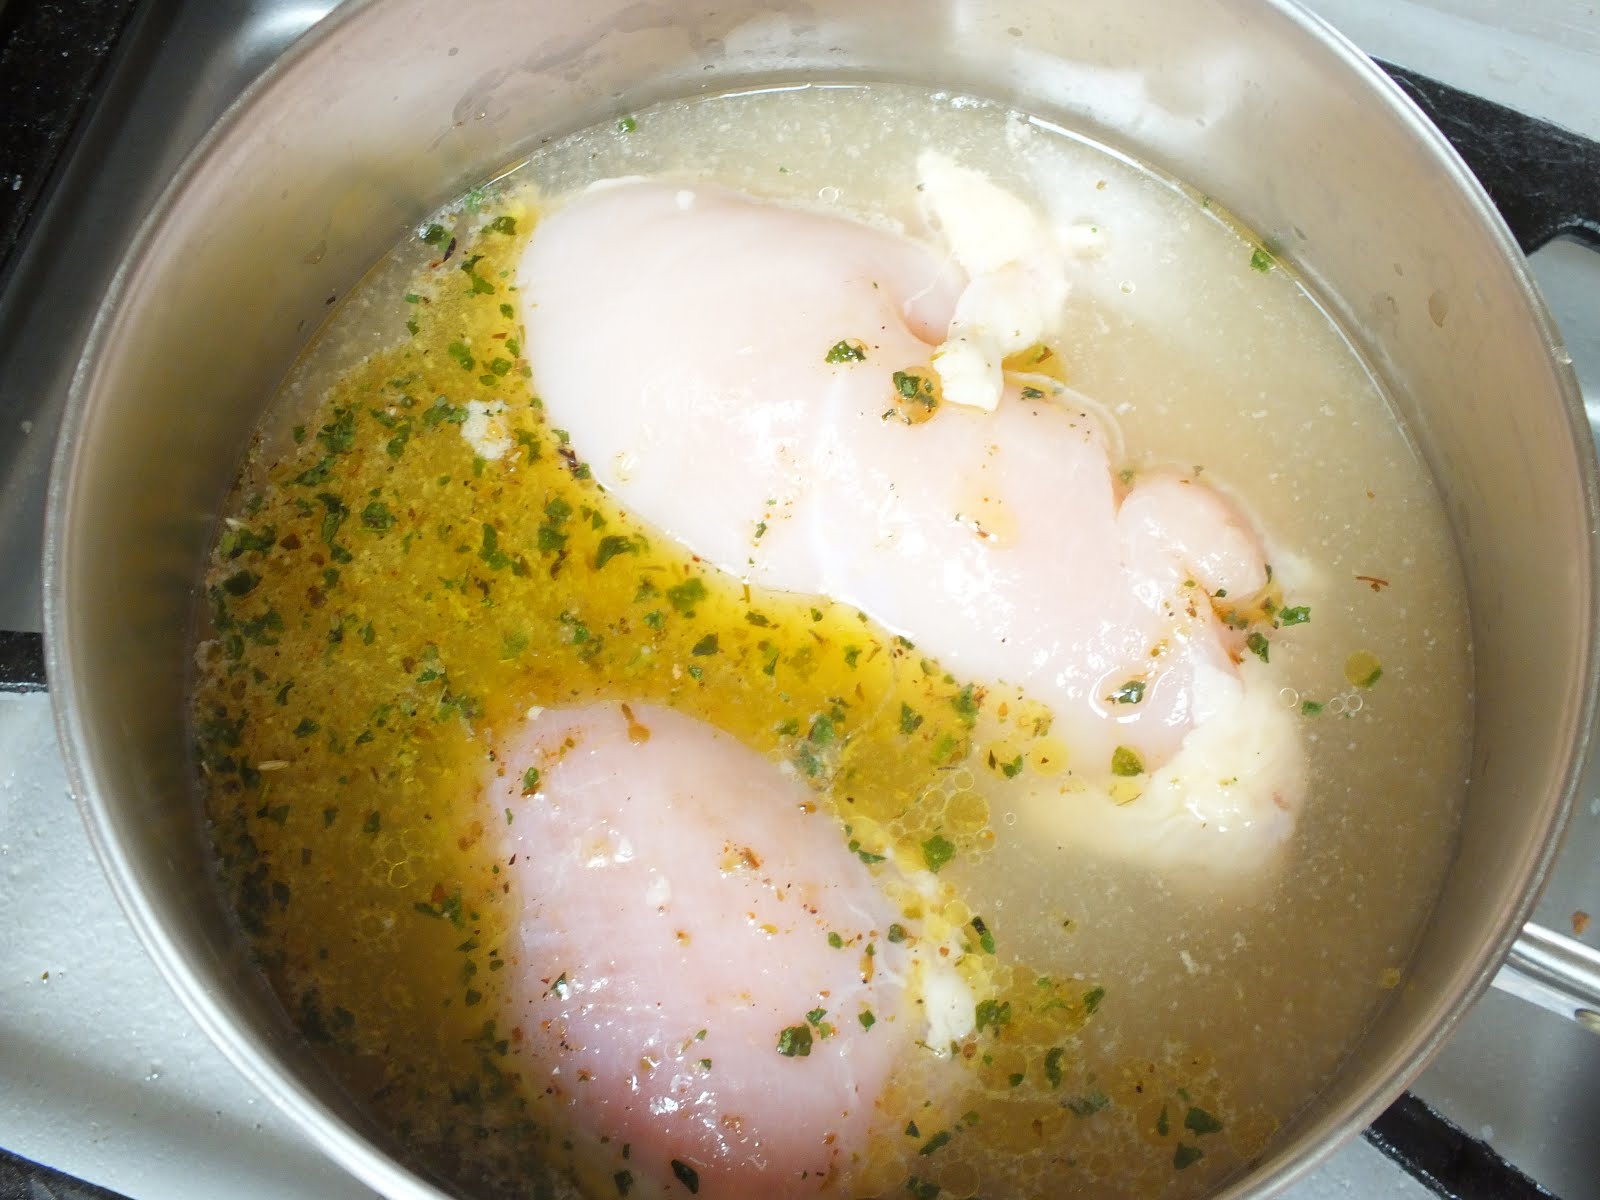
I already had 1 chicken thigh left marinading in the fridge from some dishes I had made earlier in the week so I started with that and added 1 large chicken breast to a saucepan with about 1 cup of chicken stock  (I went ahead and added the marinade to the pan as well, knowing the olive oil and seasonings would only serve to add more flavor to the overall dish.) and poached the chicken until it was just cooked through).


Meanwhile, I chopped and sauteed some carrots, onions and celery (I was out of potatoes, but feel free to include them) in a couple of tablespoons of butter and a tablespoon of EVOO (the olive oil helps prevent the butter from burning), lightly seasoning the whole works with a bit of salt and pepper.  By the time the veggies were  tender, the chicken was ready so I removed it from the pan and cut it into bite-sized chunks and set it aside.  I added 3 tablespoons of flour to the veggies, stirred it in and let it cook for a couple of minutes before adding milk and the chicken stock I had poached the chicken in.  I stirred this well and let it cook for a bit to gauge the thickness of the sauce.  I ended up adding a couple more tablespoons of stock from the carton before I had the consistency I wanted (about as thick as gravy).  Once I had that dialed in, I added the chicken...


I added some parsley and thyme and just stirred everything together, then I turned off the heat and poured the whole mixture into a small casserole dish that I had already prepared with cooking spray and got to work on my cobbler topping.  Just mix 1 cup of Homemade Baking Mix with some sharp, shredded cheddar cheese and 1 tablespoon chopped chives (I used freeze dried), then mix in 1 cup of milk, 2 eggs and 1 tablespoon of butter, mix well and pour on top of the pot pie filling.


Bake it in a preheated 400 degree oven and bake it for 30 minutes.  It will come out looking like this:


... just look at how beautifully the cobbler topping rose...


Serve it with a salad on the side and your favorite beverage and you're all set!


Here's the recipe:

Chicken Pot Pie with Cheddar Chive Cobbler Topping
serves 4 

Filling
2 boneless, skinless pieces of chicken (I used 1 thigh and 1 breast)
1 cup chicken stock
2 TBLS butter, unsalted
1 TBLS extra virgin olive oil
2 carrots
2 celery stalks
1/2 of a medium, sweet onion
2 medium potatoes (optional)
3 TBLS flour
1/4 cup milk
1 tsp parsley
1 tsp thyme
Salt & Pepper

Cobbler Topping
1 cup baking mix
1 cup sharp cheddar cheese, shredded
1 TBLS butter, melted (*if you use storebought baking mix, omit butter)
1 cup milk
2 eggs
1 TBLS chopped chives (reserve a couple of pinches to sprinkle on top)

Preheat oven to 400 degrees and prepare a small casserole dish with cooking spray or butter.  Melt 1 tablespoon butter and set aside to cool.

For the filling:
Place whole chicken pieces in 1 cup of chicken stock and bring to a boil.  Reduce heat to low and simmer for about 10 minutes.

Meanwhile, cut potatoes into bite-sized pieces and chop onions, carrots and celery into small dice. Preheat a skillet on medium high heat.  Add 2 tablespoons of butter and 1 tablespoon olive oil to skillet and melt butter.  If you're including potatoes, add them to the skillet first and let them cook for several minutes before adding the remaining vegetables.  Saute until all vegetables are tender.

At this point, the chicken should be ready.  Remove the chicken from the pan, reserving the stock. Set chicken aside.

Add flour to vegetables, stirring in and allowing to cook for a couple of minutes.  Stir in milk and allow it to cook briefly, until it thickens to almost to a paste.   Add all of the chicken stock you poached the chicken in.  Stir in and reduce heat to low, allowing sauce to simmer a bit, stirring occasionally while you cut the poached chicken into bite-sized pieces.  Add chicken to filling mixture in skillet.  If the sauce is too thick, you can add more chicken stock or more milk or simply use water to thin it to the desired consistency.  (You want it about as thick as a gravy.)  Pour into prepared casserole dish and set aside.

For the topping:
In a medium bowl or measuring pitcher, mix together baking mix and cheddar cheese.  Pour in milk, melted butter (which should be cool), chives, and eggs.  Mix until it's all combined.  Pour on top of filling in casserole dish.

Bake at 400 degrees for 30 minutes, until nicely browned on top and a toothpick inserted into topping comes out clean.  Allow to set for about 5 minutes prior to serving.  This goes great with a salad or some fresh fruit.

Enjoy!


Sunday, March 20, 2016

Tutorial: Hiking Boot Cookies


Today is the first day of Spring - HOORAY!  That means hiking season is almost upon us.  To get your ramped up for the season, I wanted to share this tutorial with you for Hiking Boot Cookies.

Last July, my sister got married.  She and her new hubby started out their relationship hiking together and it grew from there so when they planned their wedding, they planned a casual, hiking themed wedding that was as much fun for the guests as it was for them.  It was very laid back and casual (and it was held on what turned out to be the hottest day of the summer - yikes!) and the menu was no different.

They picked a casual menu and asked me to oversee the shopping, cooking and preparing of the food, which included a special request for a platter of hiking themed cookies.  Here's what they looked like:


I decided to use Lila Loa's End All for Chocolate Cookies Recipe for a couple of reasons.
1) the chocolate cookie would show through on the boot-print scene cookie and look like earth, adding to the overall effect
2) They are absolutely the best, most reliable cut-out cookie recipe I have ever used - these cookies DO NOT SPREAD when you bake them - which makes them perfect for cut-outs

For the Royal Icing, I always use this recipe from The Sweet Adventures of Sugarbelle.  I've found it to be a reliable recipe and tastier than most Royal Icing recipes I've had.  You can also find lots of tutorials and excellent tips on this blog, and I highly recommend it if Royal Icing Cookies are something you enjoy playing with.

I had no trouble finding a basic idea for the backpack and bootprint cookies, but I had no luck finding anything for the hiking boot.  So, I figured it out for myself and took pictures of every step (ha ha, see what I did there?), so I could share them here...

Once you have cut and baked your roll out cookies, allow them to cool completely.  Still-warm cookies will result in runny frosting - a disaster for this type of decorating.


I mixed up a dark gray Royal Icing and thinned it to a 20 second consistency.  This is just thick enough to hold a line, but thin enough to use as a flood icing to fill in the outlines. I started with the bottom of the sole...


...while that was drying, I added the upper edge that you see on so many pairs of hiking boots...


...and while those details were drying (and while I was adding details to some of the other cookie shapes that used this same color), I mixed up a light tan color, which I also thinned to a 20 second consistency.  I sealed it up and let the other details set before filling in a flooding the body of the boot while the body of the boot was still try I thinned the grey icing even more - to about a 10 second consistency (maybe less) and added the eyelets to the boots, using a small round tip, and just dropping a tiny dot of icing in a row.  This results in the added icing sinking into the icing that's already there, while still holding it's shape.


Now I used the Royal Icing straight up, with just coloring to add the lacing...


On one cookie, I also added their initials and the date of the Big Day to place on the top of the cookie platter.


And there you have it, Hiking Boot Cookies for a Hiking or Camping themed cookie platter!


Wednesday, March 16, 2016

Chicken Enchilada Cobbler


I first had this Spicy Taco Cobbler when I facilitated a workshop this past March with my friends Janet and Amelia for a group of Adult Girl Scouts.  Janet had made the recipe before, shared it on her blog – Chuck Wagoneer – and knew it to be reliable and popular.  I was a bit skeptical, to say the least, I had a snobbish attitude about the recipe since it called for Bisquick and Uncle Ben’s Ready Rice, but it did sound delicious and kind of perfect for a camping trip in March.  Ya know, a hearty, stick to your ribs and warm you to your toes casserole.  March in the Pacific Northwest can be a real crap shoot, to say the least, in the weather department.  We had facilitated workshops at this yearly event several times in the past and had experienced everything from the nasty rainy weather you would expect from a Pacific Northwest early Spring to sunny and clear with below freezing temperatures to cloudy and mild.  Yikes!  Not to mention the fact that standing on cold cement all day, teaching a workshop OUTSIDE, can just chill you to your unmentionables.  Yep, definitely perfect casserole weather.

This recipe actually has a lot going for it – it’s pretty high-carb since it has both rice and a bicuity-cobbler topping, but it’s also pretty packed with protein since it has both meat and cheese, plus it has just a hint of a spicy kick (which you can definitely kick up a notch or three, if you prefer) that just warms you through and through and stays with you for hours.

The original recipe calls for ground beef as well as the aforementioned Bisquick and Spanish Ready Rice.  But I knew this recipe was ripe for variations.  I have made it a couple of ways already first by kicking up the spice a tad by using Chorizo and making both the baking mix  Spanish Rice from scratch.  But my favorite variation of this recipe is Chicken Enchilada Cobbler.  It tastes like chicken enchiladas with a savory cobbler topping and the simplicity of a casserole. I was super happy with the results right out of the gate and my husband gave the recipe his seal of approval too. 

Best of all, if you already have the rice made up this recipe can be made in one-pot AND it’s outdoor cooking friendly!  Visit my friend (insert link) Janet’s blog for dutch oven cooking instructions. 

Start by placing the rice in the bottom of a buttered casserole dish (I'm using Cilantro Lime Rice here), dutch oven or cast iron skillet.


Mix some pre-cooked chicken with shredded Monterey Jack Cheese, a can of dice green chiles, a little bit of green enchilada sauce and chopped fresh cilantro...


...top the rice with the chicken enchilada filling mixture...


...spread it evenly over the rice.


Now pour the rest of the enchilada sauce over the whole thing...


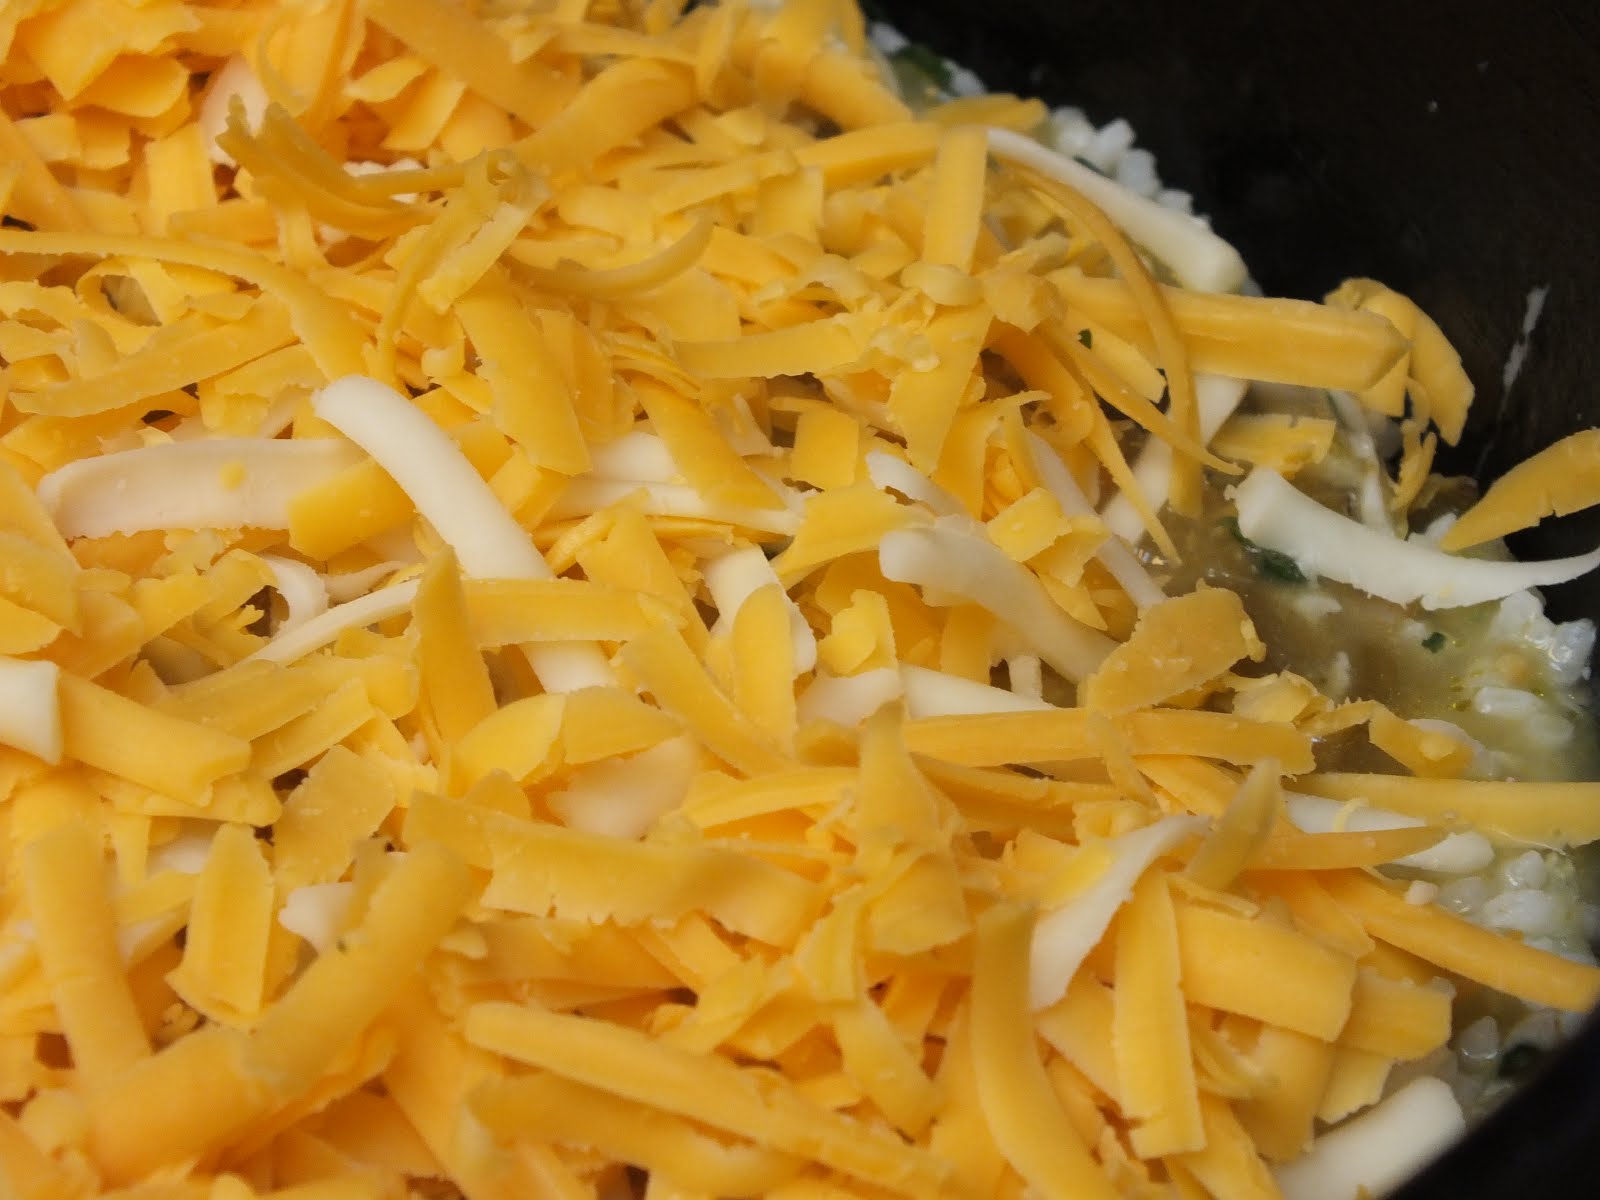
...top with cheese - I used both Monterey Jack and Cheddar.  


Now mix up your cobbler topping: Start by adding cheese to the baking mix...


...and mixing the cheese in....


Now add your milk and eggs...


...and melted butter...


Pour the cobbler topping over the whole shebang...


...and bake until it looks like this:


This recipe is sure to be a family favorite and it’s a great candidate for making and freezing for meals-in-a-hurry.  Muy Delicioso!

Chicken Enchilada Cobbler

2 Cups (insert link) Cilantro Lime Rice (or any rice you have on hand)
2 Cups cooked chicken, shredded or cut into bite-sized pieces
1 – 10 oz can Green Enchilada Sauce
1 - 3.3 oz can dice Green Chiles
1/4 tsp dried oregano
1/4 tsp garlic powder
handful fresh cilantro, chopped
1 Cup Milk
2 Eggs
1 TBLS Melted Butter, unsalted
1 Cup (insert link) Baking Mix
2 Cups Shredded Cheese, divided

Preheat oven to 400 degrees.
Butter casserole, dutch oven or cast iron skillet.  Place rice in bottom of buttered casserole.  

Mix chicken, 1/4 cup of the cheese, 2 tablespoons of the enchilada sauce, the green chiles, oregano, garlic powder and cilantro together.  Layer on top of rice in casserole dish.

Pour Green Enchilada Sauce over rice and chicken mixture.  Top with 1 1/4 cup of the Shredded Cheese.  Set aside.

In a separate bowl, mix together baking mix, and final 1/2 cup of cheese.  Mix well.  Add milk, eggs, and melted butter.  Pour or spoon over cheese in casserole. 

Bake 30 minutes or until top is golden brown (this took 25 minutes using the convection setting on my oven).  Serve with sour cream, chopped green onions and sliced olives if desired.


Serves 6