When it comes to food cravings I am generally pretty good at satisfying them right here at home. Mostly we tend to crave Italian, Mexican and Pacific Northwest Seafood, but one cuisine that we generally go to a restaurant to curb our appetite for is Asian. When I have lunch out on workdays, it's often Teriyaki or Pho and one of the few places my husband and I go for dinner is a local Chinese restaurant. It's a totally Americanized Chinese menu - the type that was really popular back in the 70's, but we love it whether it's authentic or not (we honestly and perhaps sadly wouldn't know the difference) so I have made it my goal to master a few recipes myself and this Fried Rice recipe I found on Pinterest has been a great place to start.
Of course, this is me and I wouldn't be me if I didn't make at least an adjustment or two to our own liking, but I really haven't tweaked this recipe much at all. I've really just swapped one ingredient for another, left out an ingredient (although I do intend to try it with it as well), and increased a couple others.
The key to good fried rice at home is to use rice that is a few days old and cold, right from the fridge. It will still taste delicious with freshly made rice, but the texture just won't match what your used to from your favorite restaurant or carry out place.
This recipe also happens to call for butter. I've tried fried rice recipes before and this is the first I've come across with butter, but let me tell you, it works. It's definitely the closest to our favorite restaurant's fried rice that I've made so far and it's definitely a recipe worth sharing.
This is also one time when I don't employ the chop and drop method of cooking. I do chop up all the veggies and ingredients first because you'll be working pretty quickly. So chop up your onion, carrots, garlic, scallion and Barbeque Pork and have them all set to go when you're ready.
For the carrots, I cut them in half, then half them again so they are 1/4 sticks...

Then chop them so I get small pieces like these:

If you have a wok, by all means use it, I used my non-stick skillet and it worked out just fine. Preheat your pan over medium high heat and melt some of the butter until it's fully melted and bubbly...

Add your beaten eggs and scramble them until they are just done...

Remove them from the pan when they are cooked through and set them aside. Do not overcook them, they will go back into the pan later and you don't want them to brown or dry out.

Melt some more butter in the pan, then throw in your carrots and onion, season with a bit of salt and pepper and stir-fry it for a bit - just until the onions and carrots become tender...


Add the last of your butter to the pan and stir it in until it's melted. Now add your rice, scallions, pork and soy sauce...

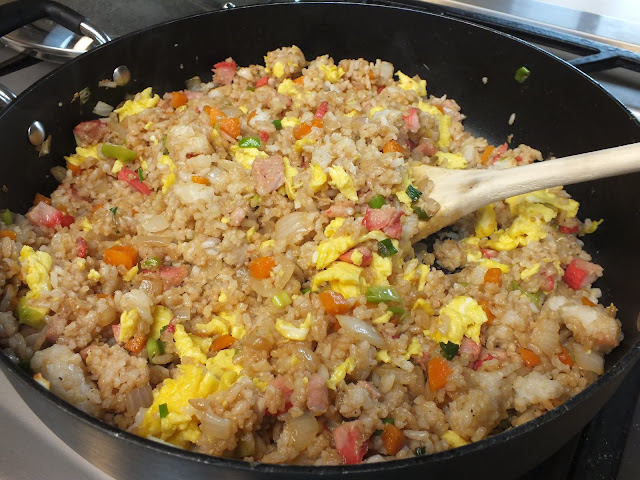
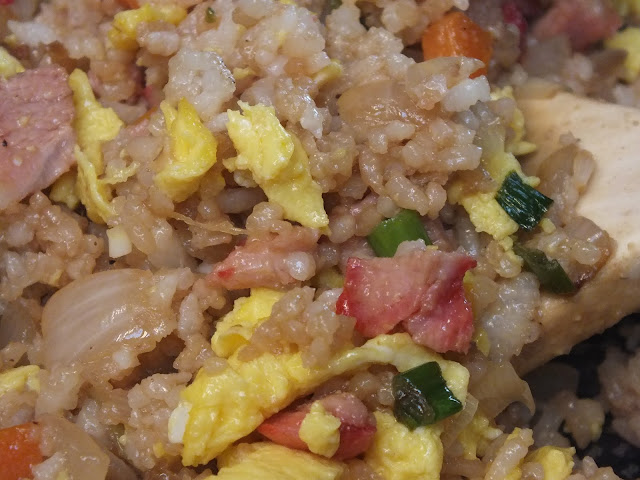
Stir it in, breaking up any clumps of rice as you go with the back of a wooden spoon and let it cook for 2-3 more minutes. Add the scrambled eggs and sesame oil - stir to combine...

At this point you can serve it or cover it and hold it warm in the oven at 225 degrees while you prepare more tasty Make Your Own Takeout dishes to accompany it.
Here's my modified version of the recipe:
Pork Fried Rice
4 TBLS unsalted butter, divided
3 eggs, beaten
2 medium carrots, peeled and chopped
1 small, sweet onion, chopped
3 cloves garlic, minced
1/4 lb BBQ pork, cut into bite-sized pieces
3 scallions, thinly sliced
4 Cups cooked and chilled rice
4 TBLS Soy Sauce (I used low sodium)
1/4 tsp toasted sesame oil
Preheat skillet or wok over medium high heat. Melt 1 tablespoon of the butter until fully melted and bubbling. Add egg and scramble until just cooked. Remove from pan and set aside.
Melt 1 more tablespoon of the butter in the skillet until fully melted and bubbling. Add onions, carrots and garlic. Stir fry for 2-3 minutes just until onions become translucent and carrots start to become tender.
Add last 2 tablespoons of the butter to the skillet and stir in until melted. Add rice, scallions and BBQ Pork to the skillet and stir in until well combined. Stir fry for another 2-3 minutes. Add soy sauce and eggs. Stir to combine. Add toasted sesame oil, stir to combine and remove from heat.
At this point you can serve it or cover it and hold it warm in a 225 oven while you make additional dishes to accompany your Pork Fried Rice.
Makes 4-6 servings.


